We built a coffee table designed by Mike Montgomery. You can see his original design and YouTube video over on Modern Builds. The best thing about this design is all the storage.
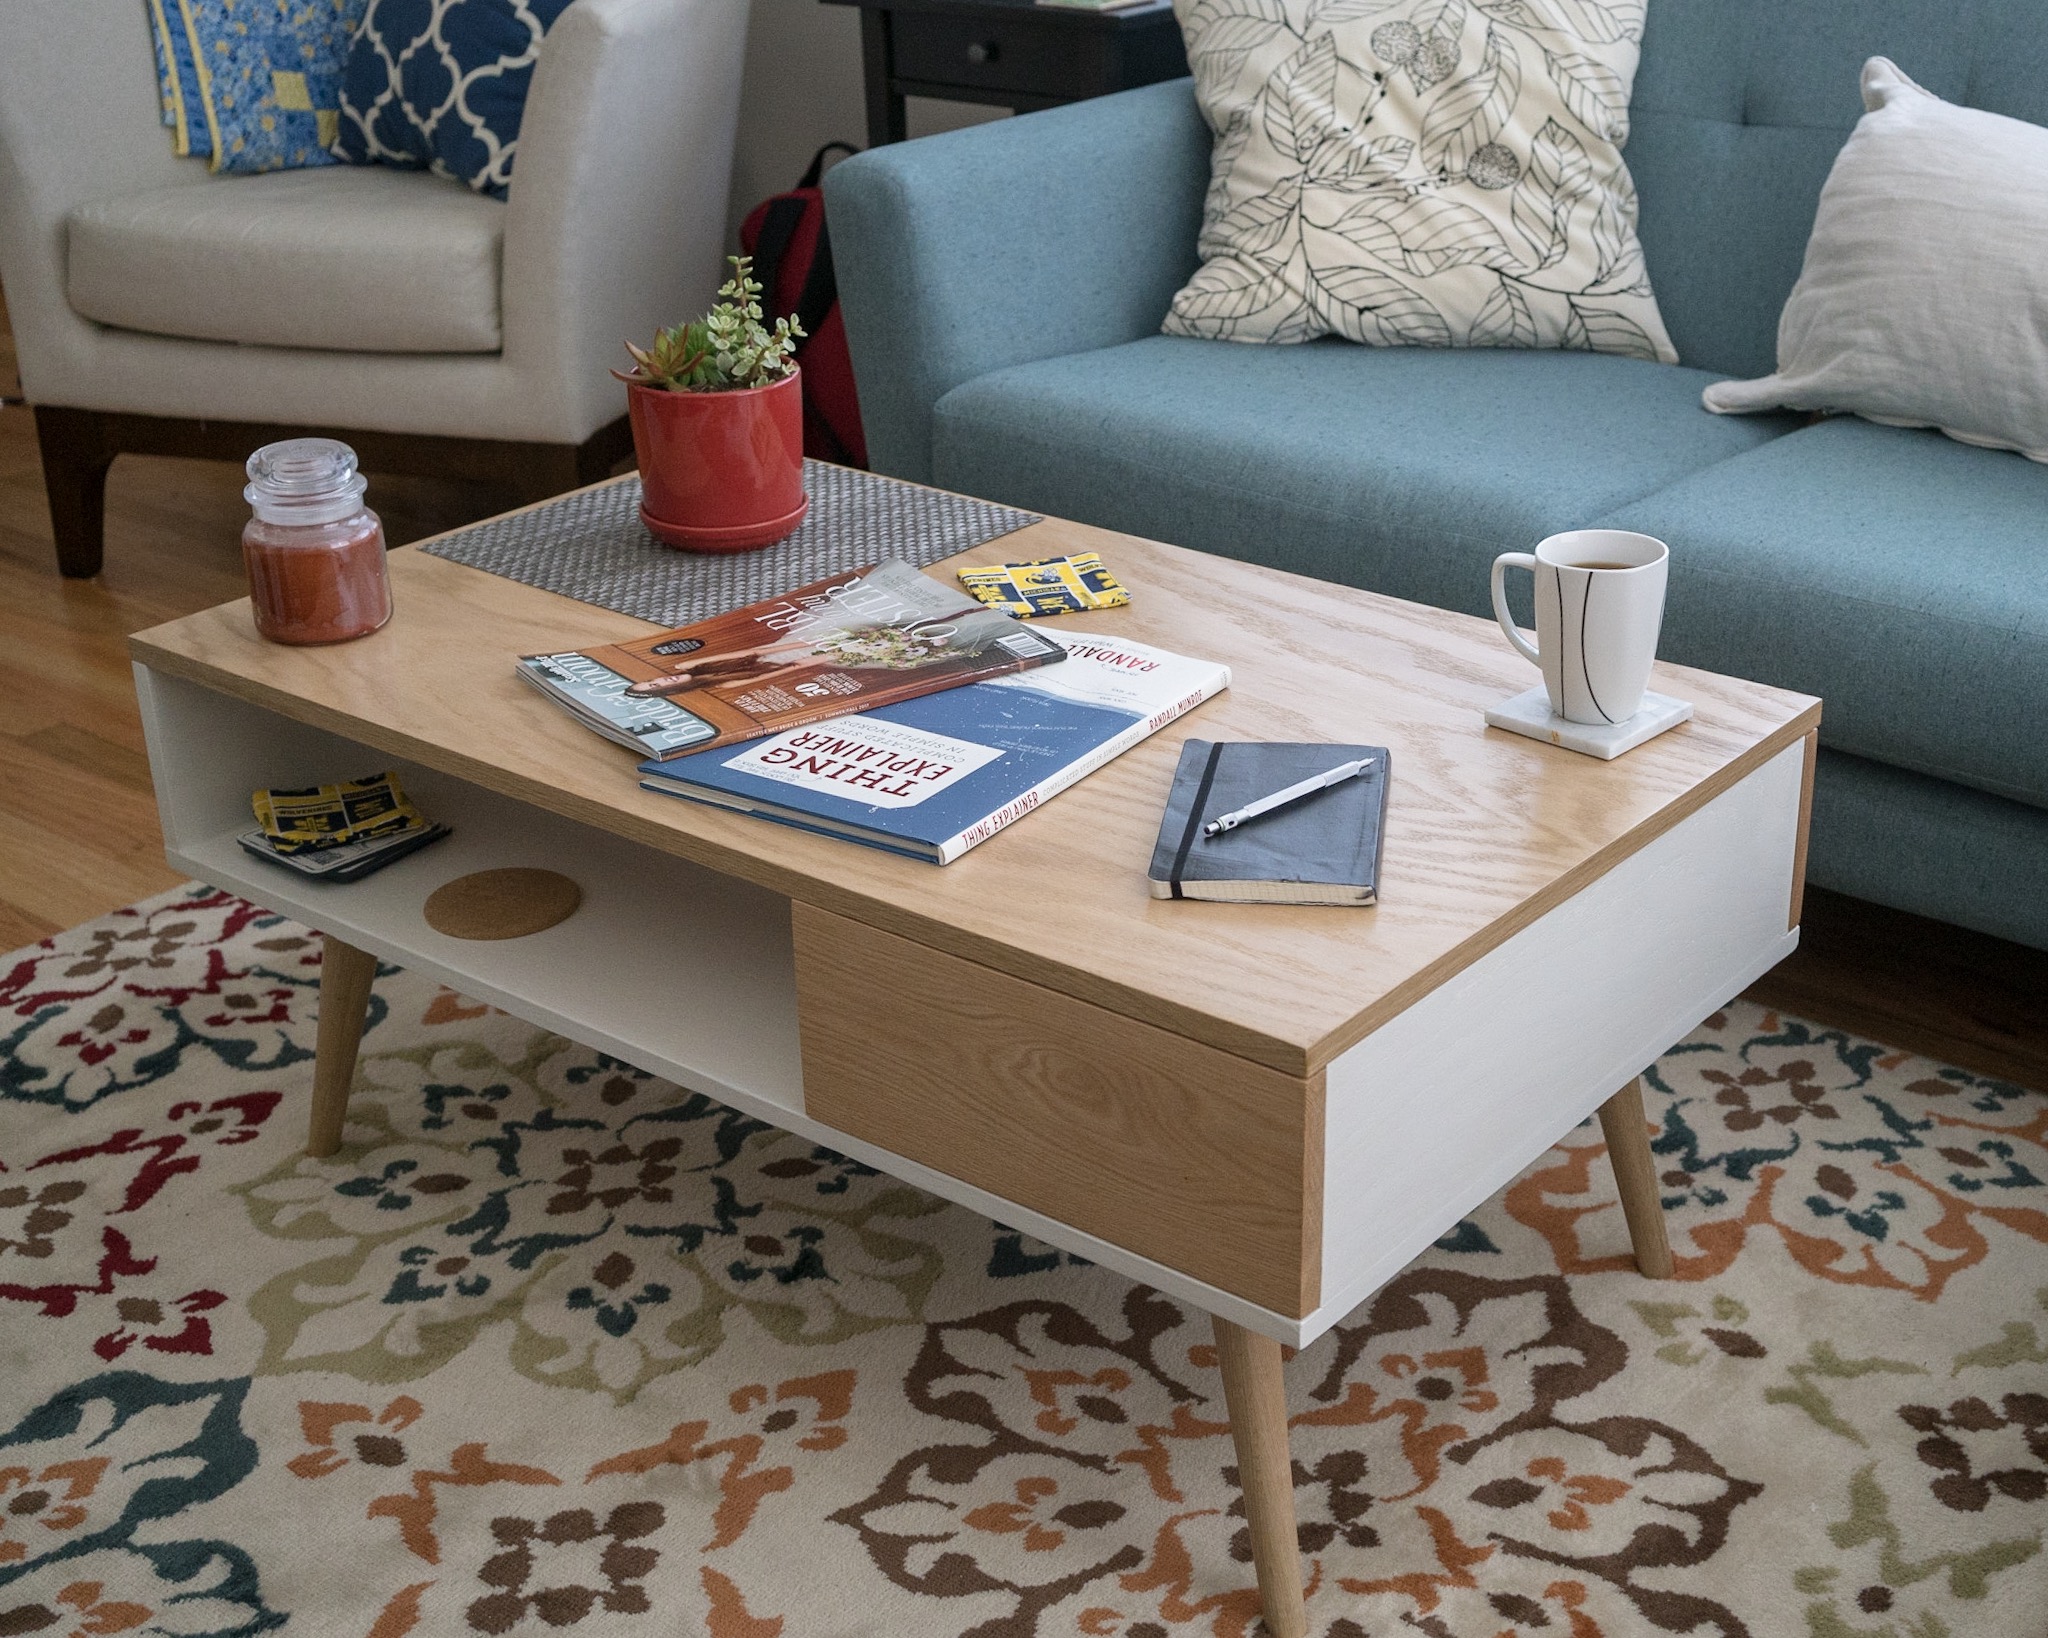
There’s a little shelf where we store all our remotes and some spare coasters and magazines, plus a drawer to stash some other stuff. We’ve always got something lying around that we don’t really want cluttering up the top of our tables, so it’s been really nice to have a convenient stash.
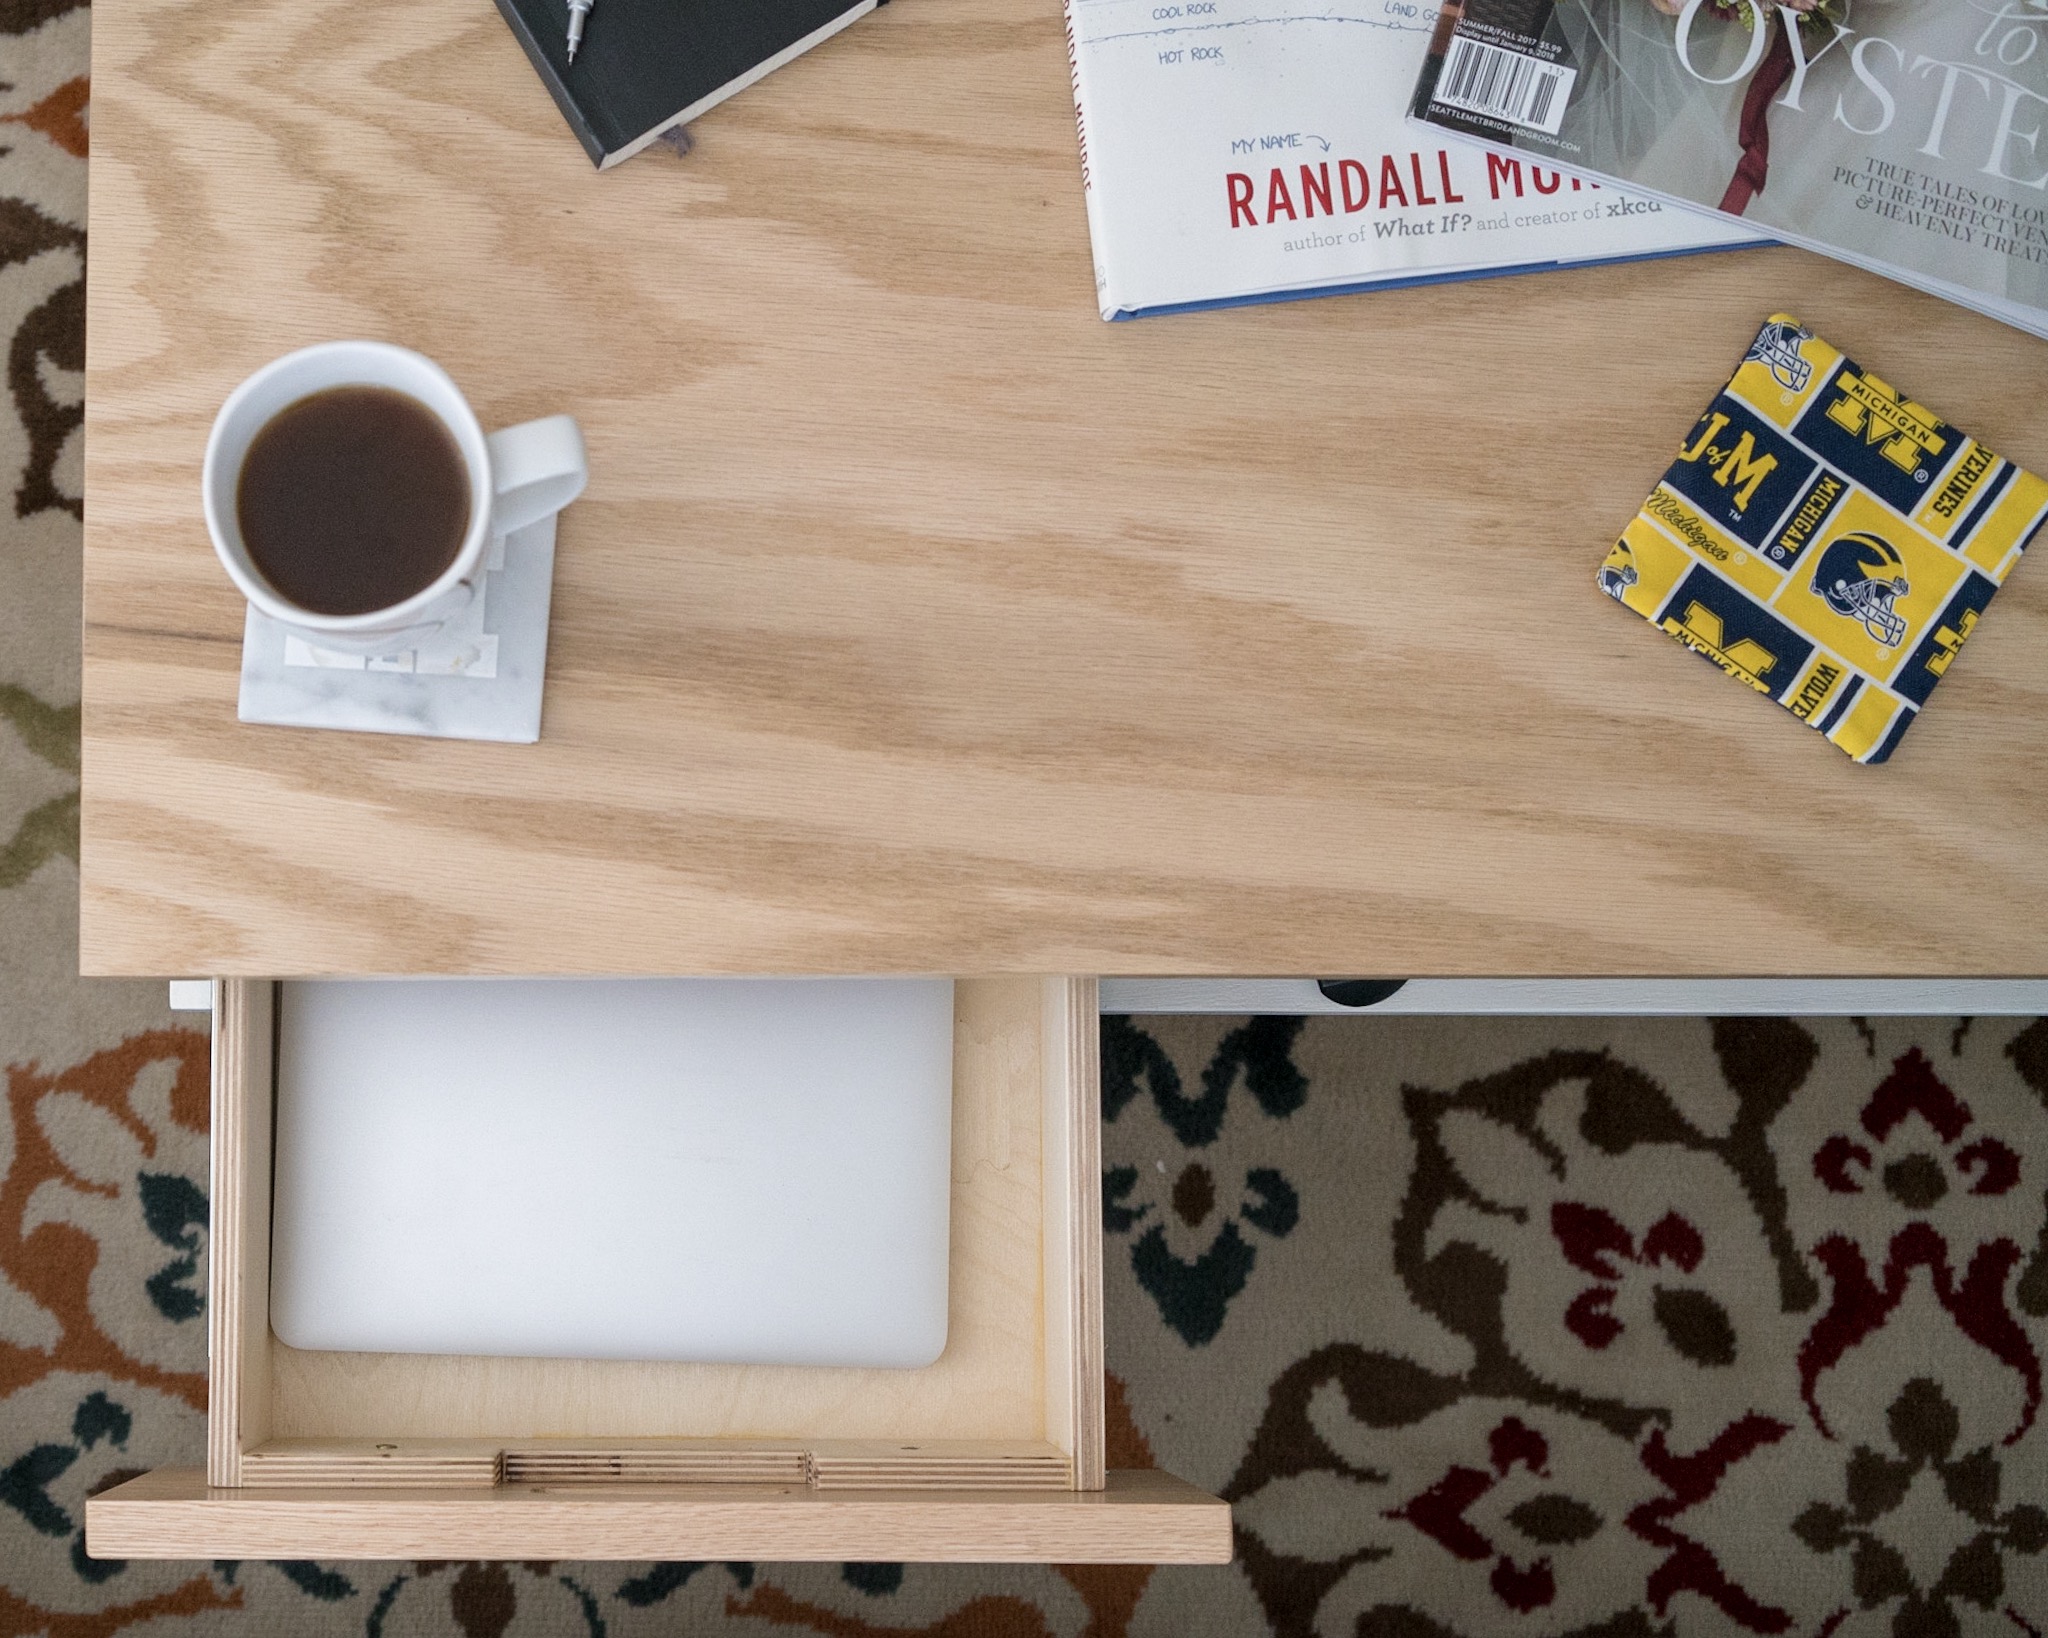
The drawer is big enough for a laptop, which was handy when I wanted to photograph the top of the table.
The Build

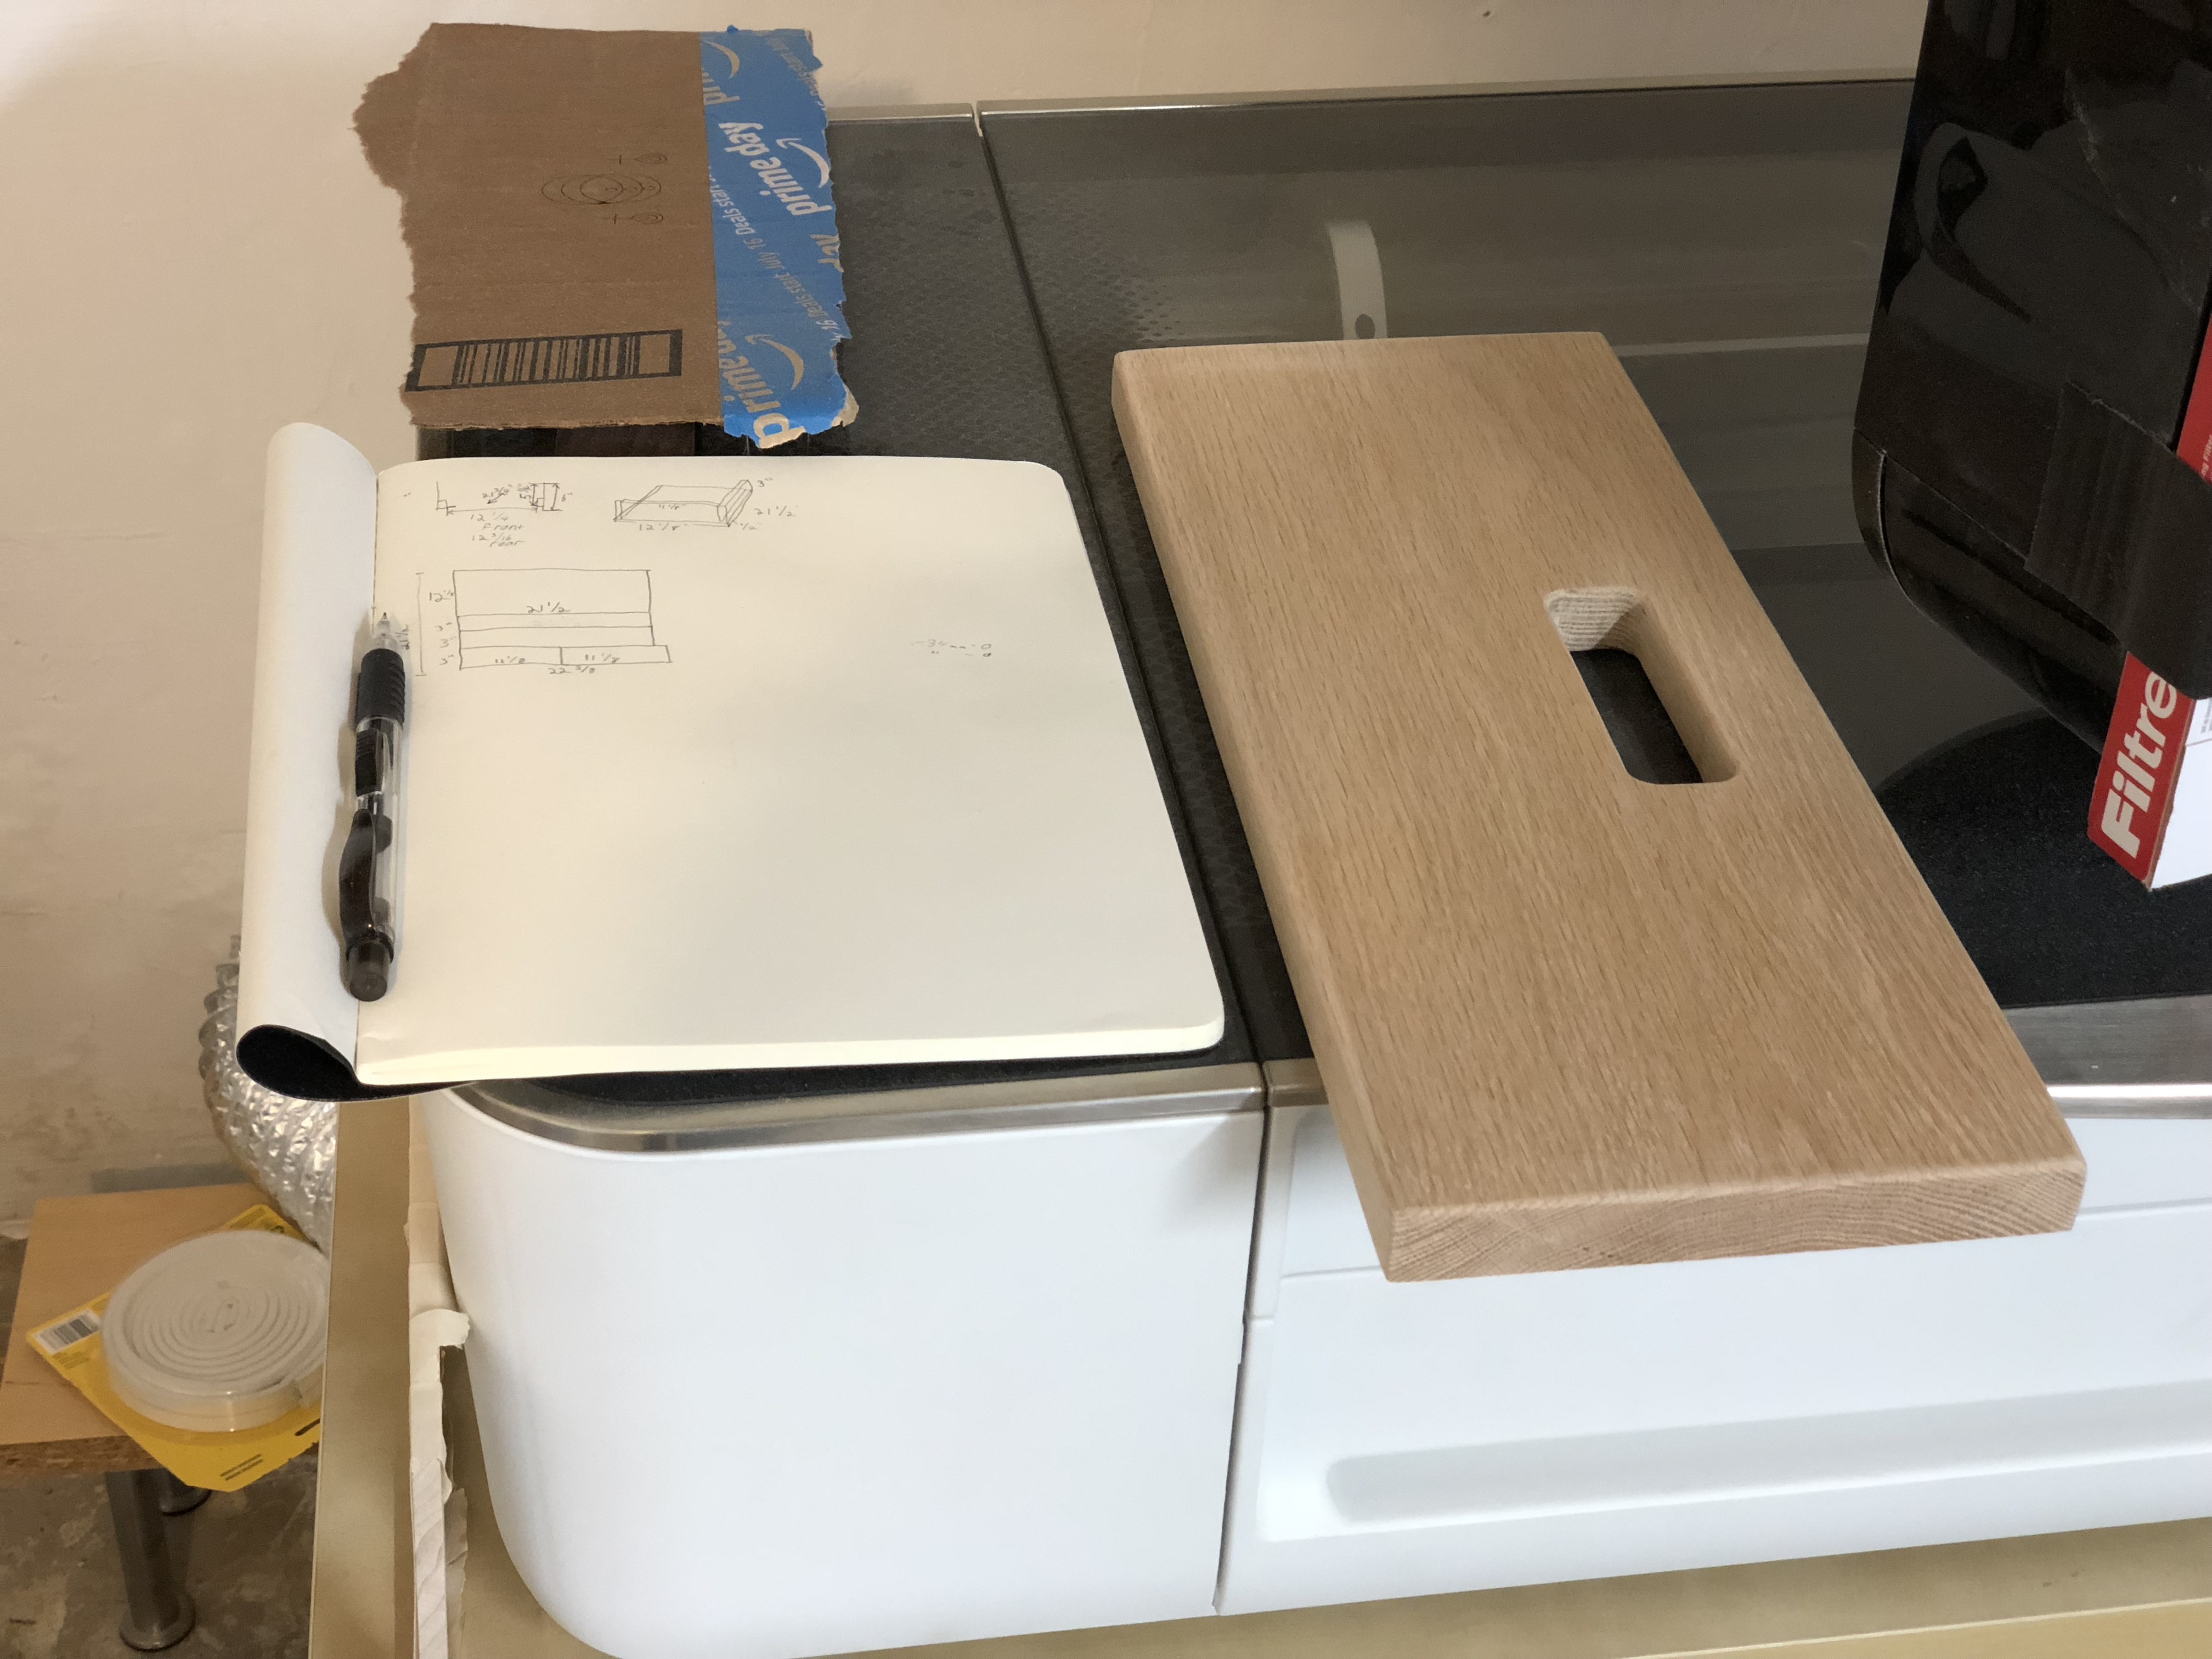
We picked up some oak plywood from the home center and they cut into quarters for us so we could get it in the car. That left some pretty rough edges, but we knew we wanted to go a few inches smaller than the full quarter-sheet for our table, so we still had room to clean it up at home. We just kind of cut down the piece that we wanted to be the top until it felt like it fit in our living room, then adjusted the rest of the cut list to match those dimensions.

We weren’t totally sure how we wanted to finish the tabletop, so we took a scrap piece of the plywood we were using and stained half, finished the whole thing, and then used it as a tray for a while so we could get a feel for how the two colors worked in the room.

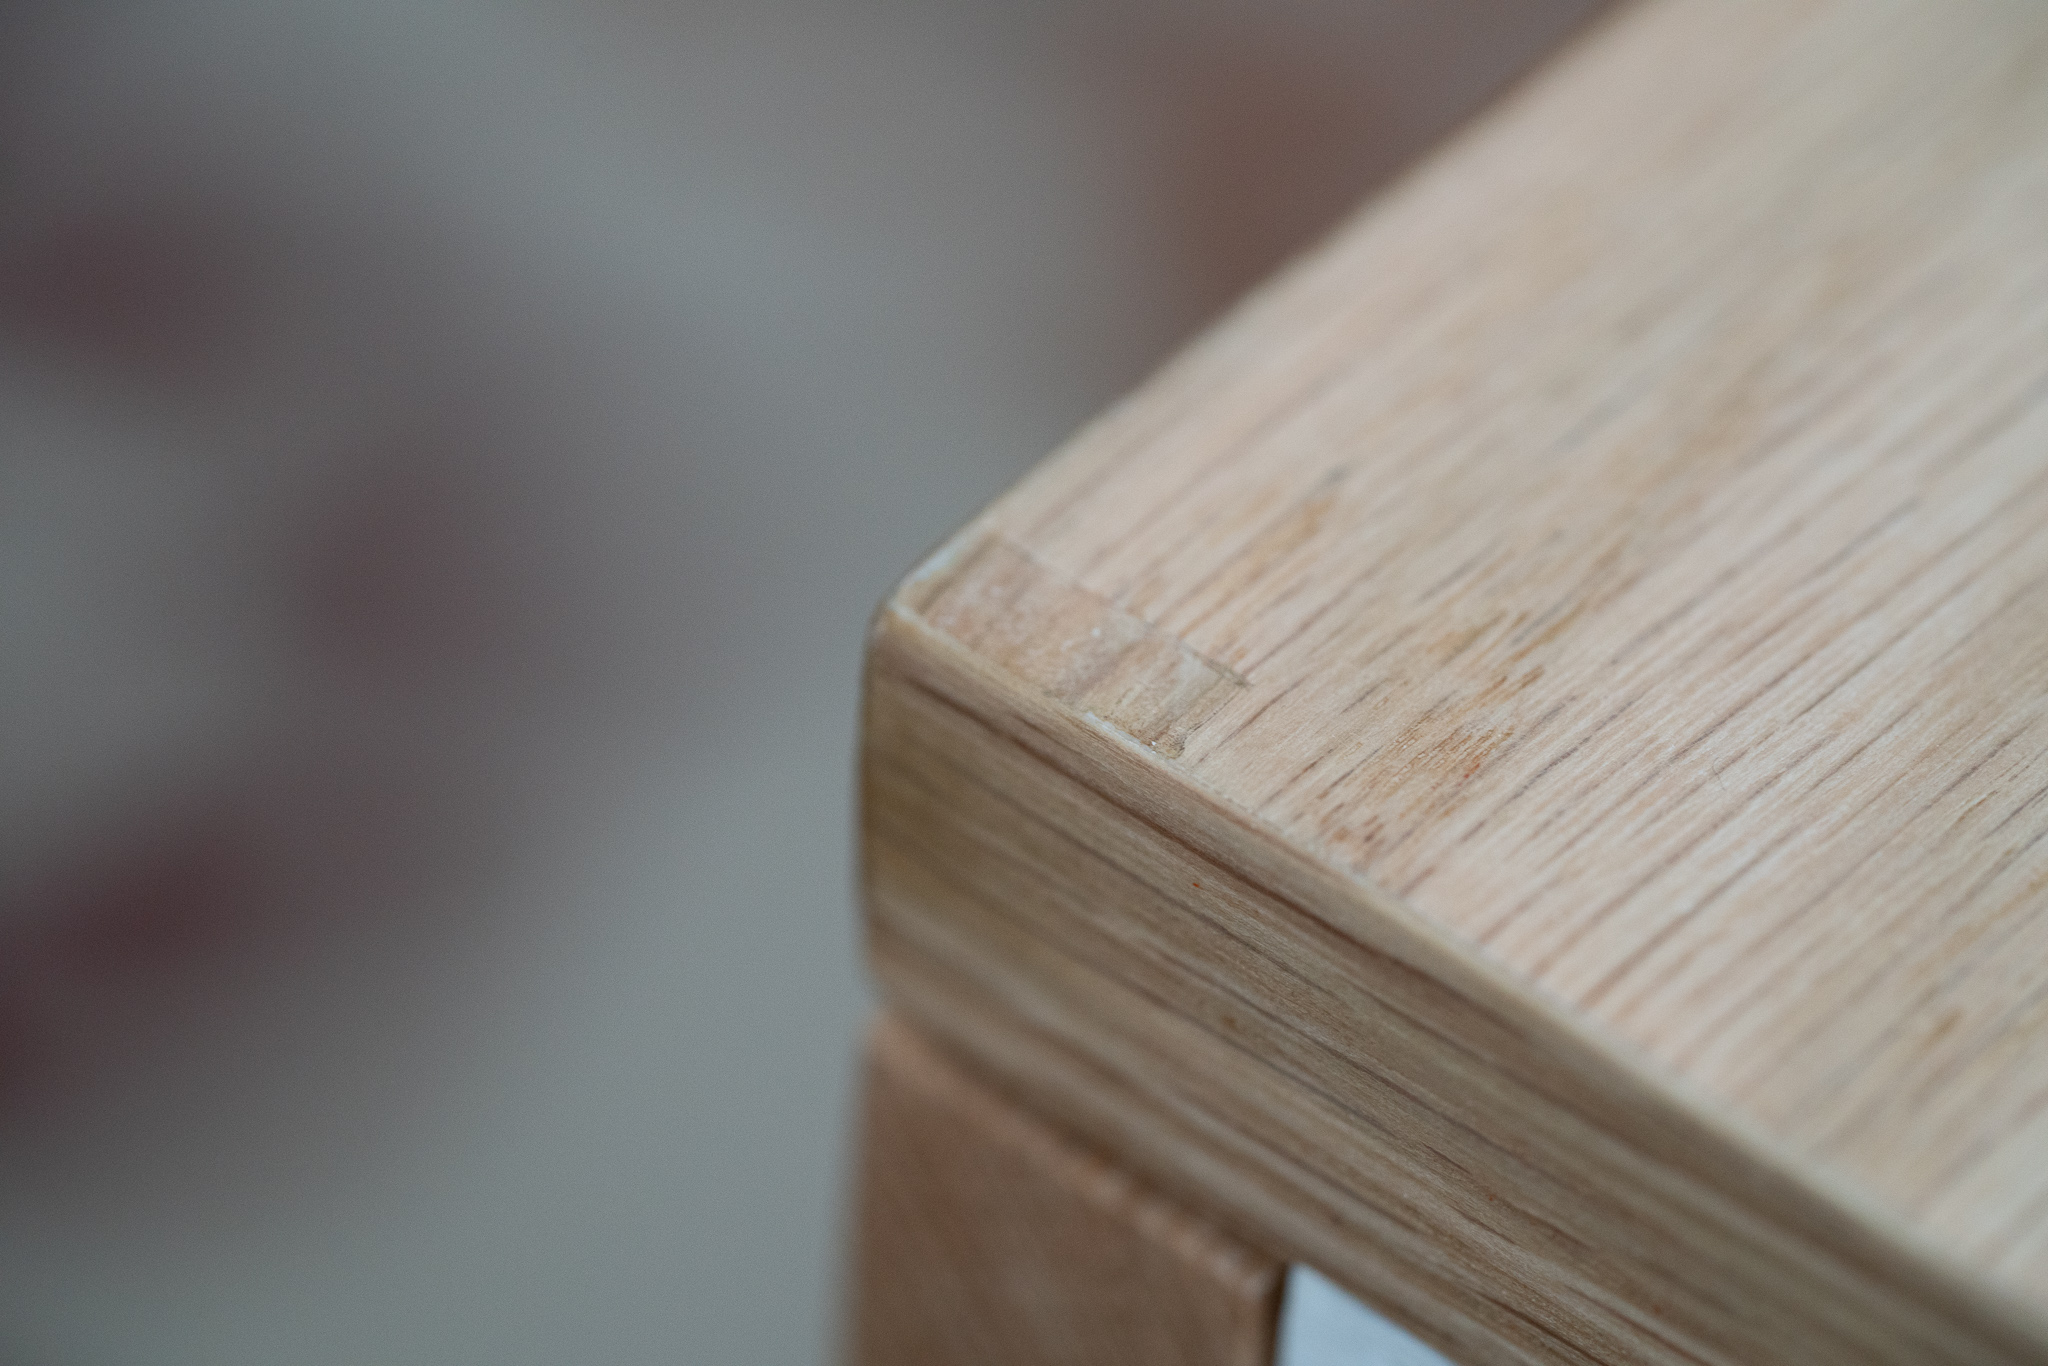
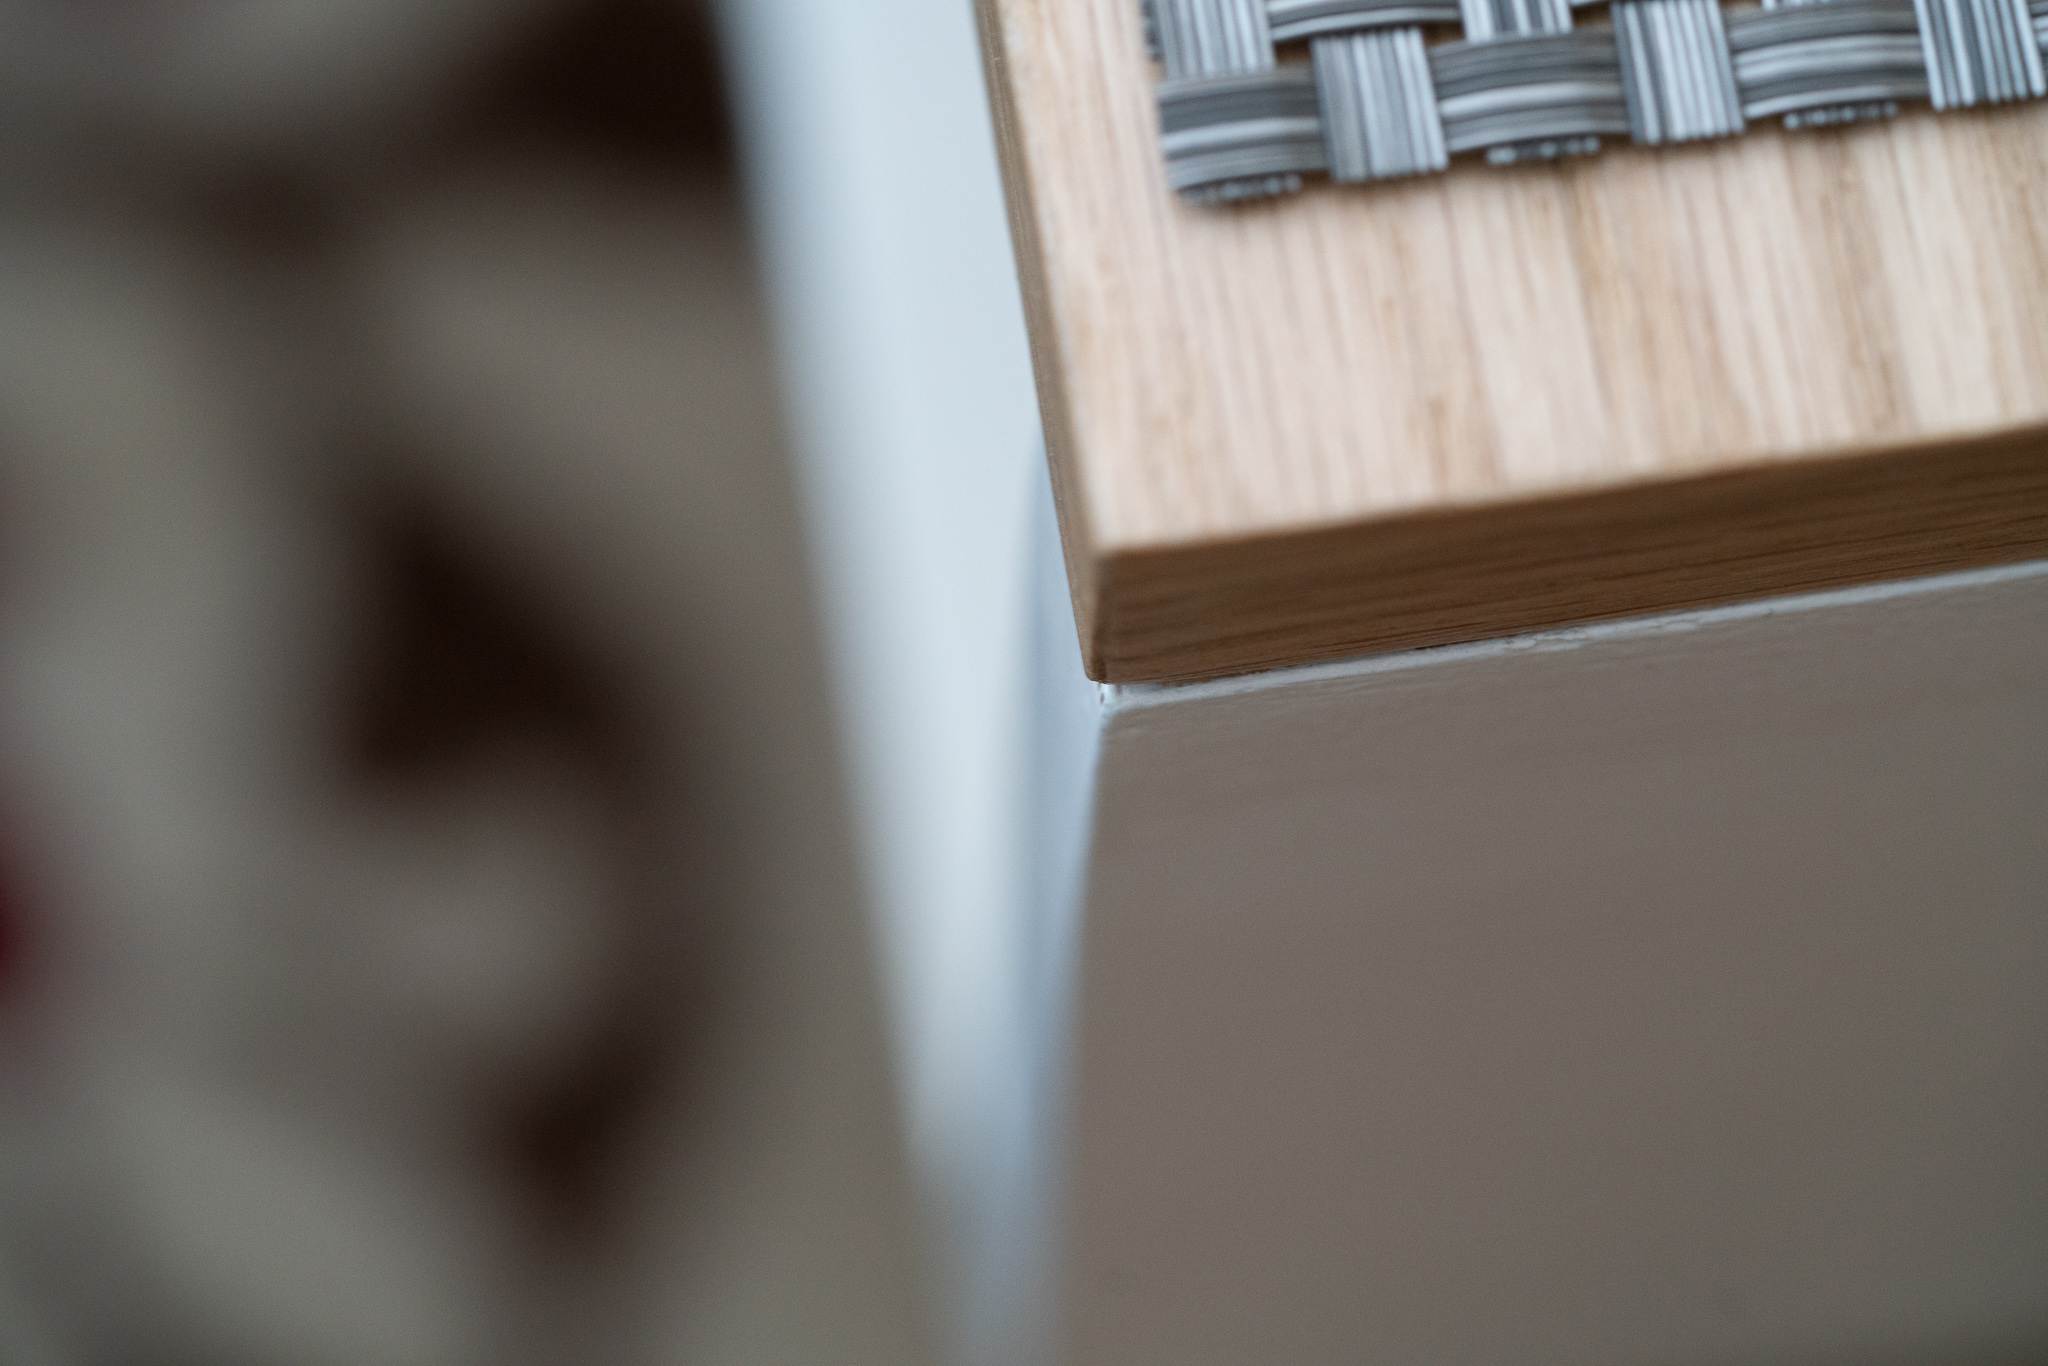
The oak plywood chipped out on us a bunch, but we were able to use all the rougher pieces for the painted part of the project, so we just used some wood filler to repair the chip-out. We also smeared some in the joints like you’d do with caulk and I think that helped a lot. We also put on all the edge banding at this point, which was trickier than it looked, but not so bad once we got the hang of it.
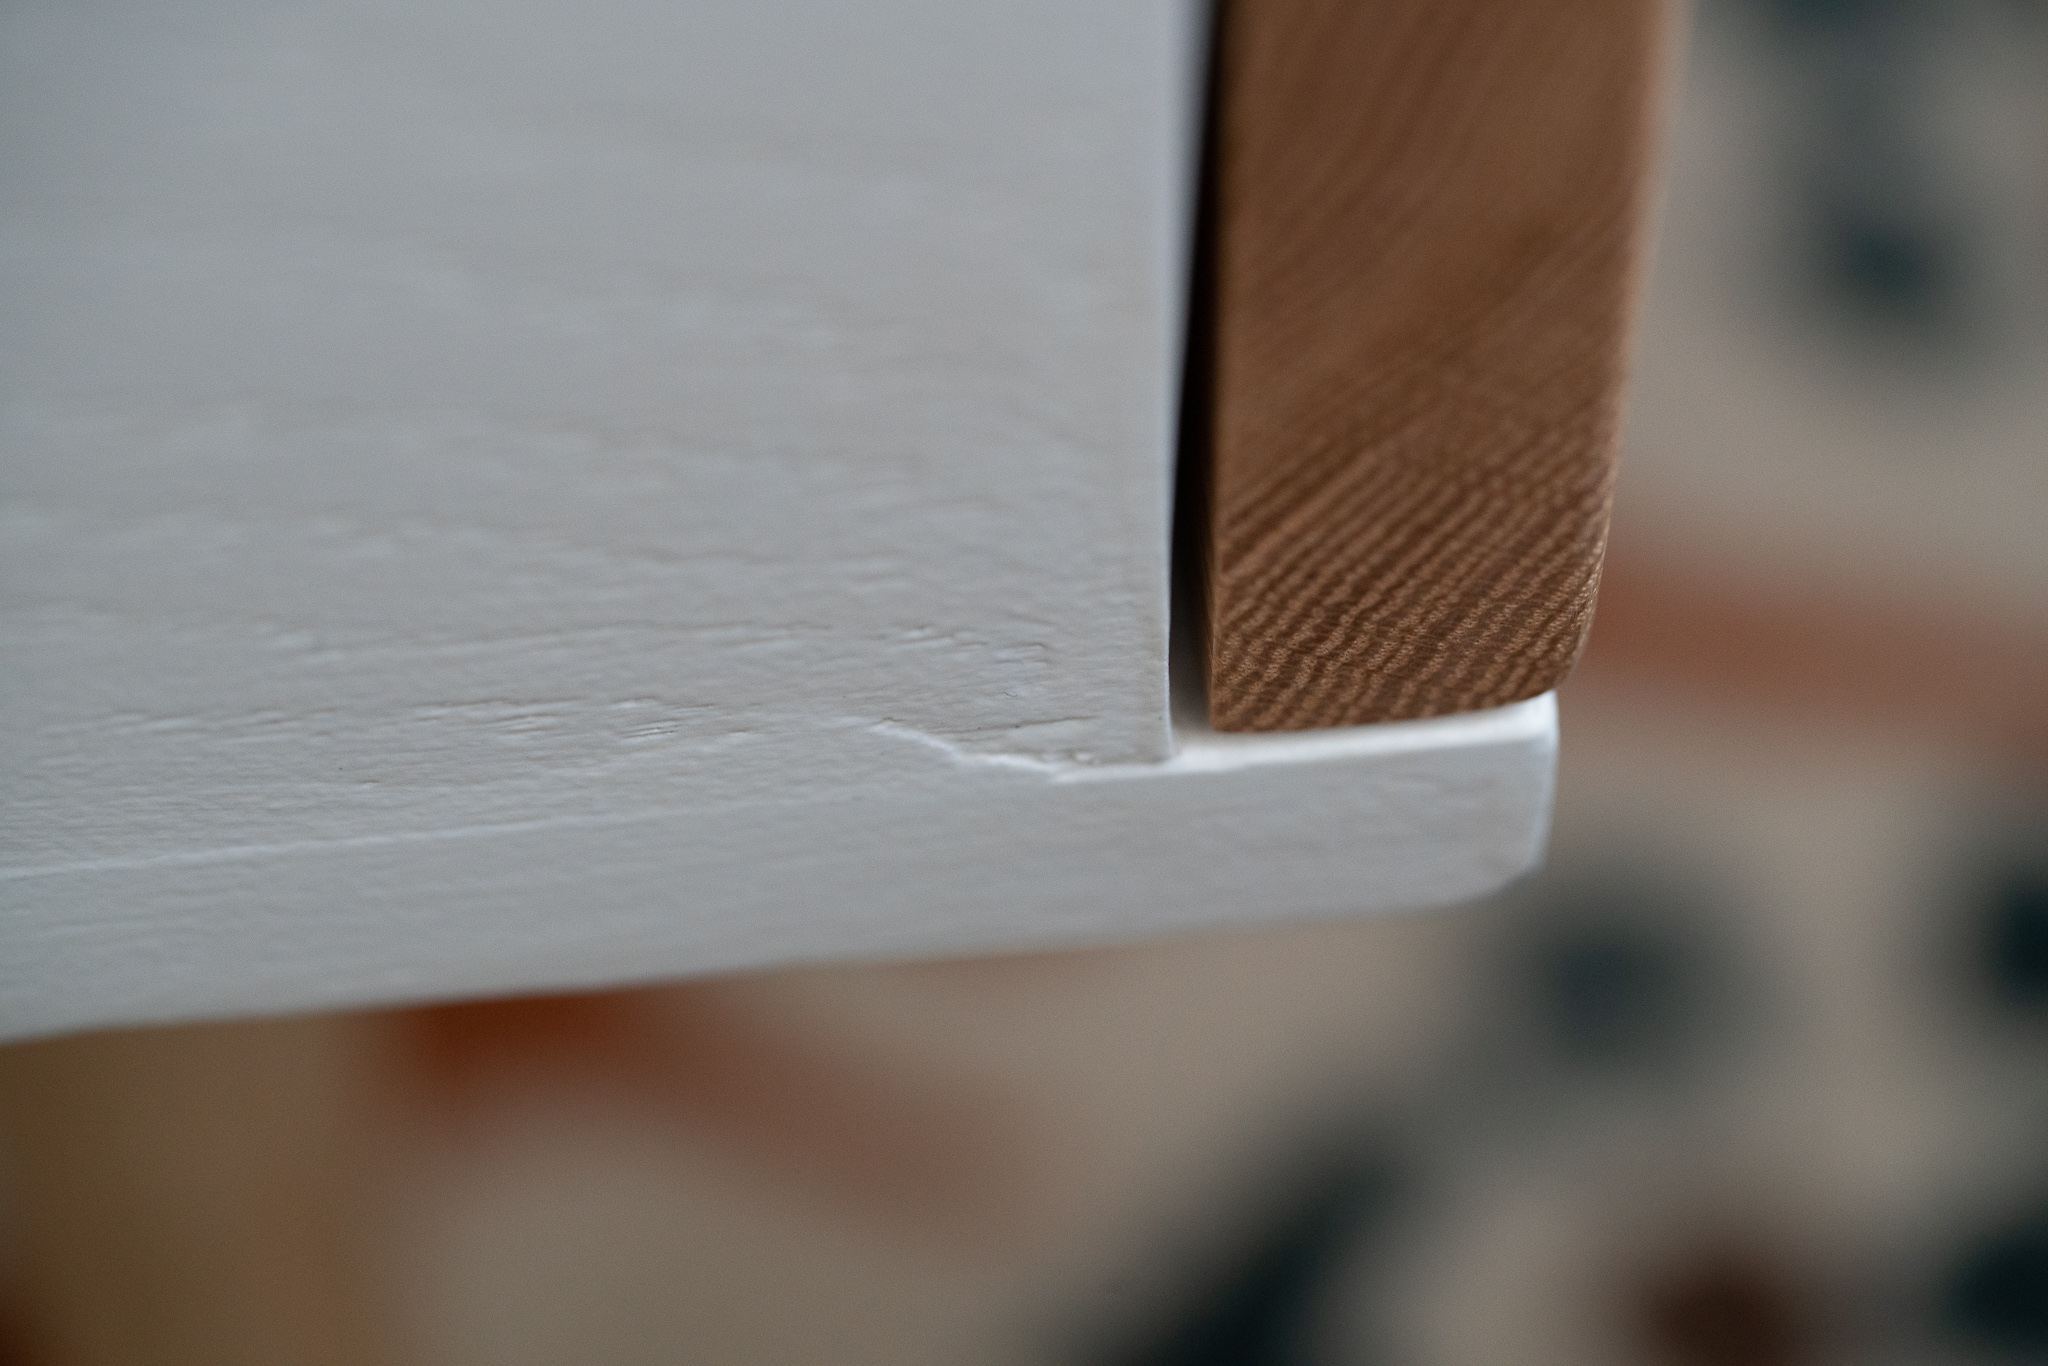
 After that, we just had to paint and finish everything. We used a chalk paint from General Finishes and then their water-based top coat for the painted section. For the table top, we used a grain filler and then some spray lacquer. I only found out about grain filler and how useful it is for oak halfway through the project. I probably would have put some as a base coat on the painted section, too if I’d known about it.
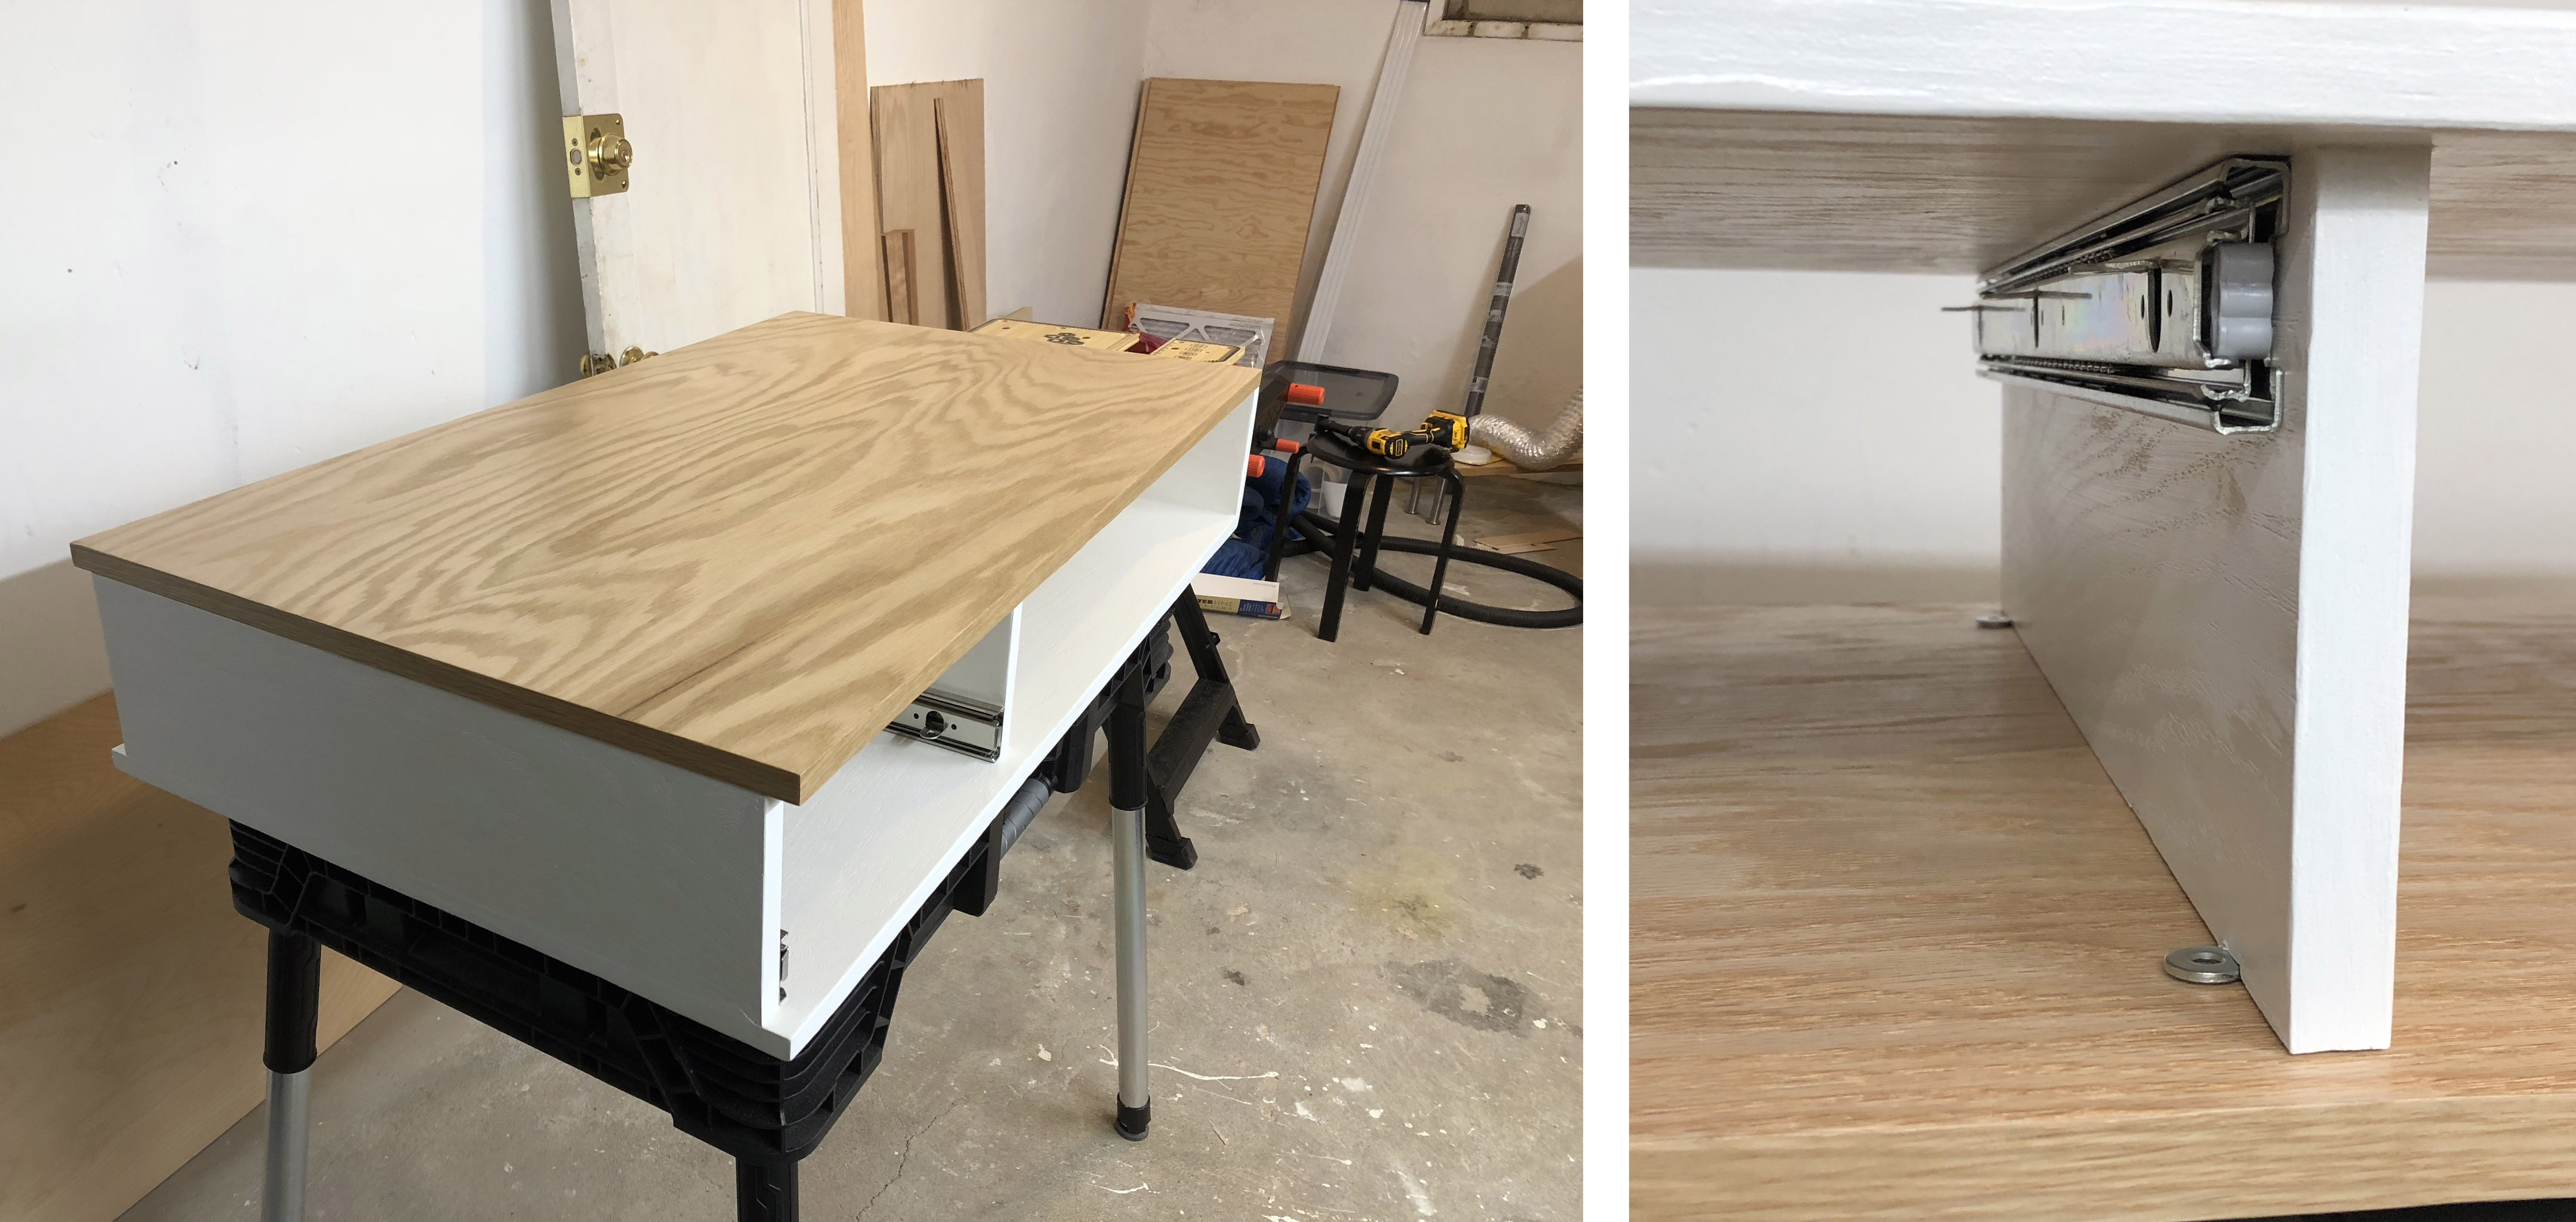
Screwing the top on and adding the drawer slides felt really good – it was starting to look like something!
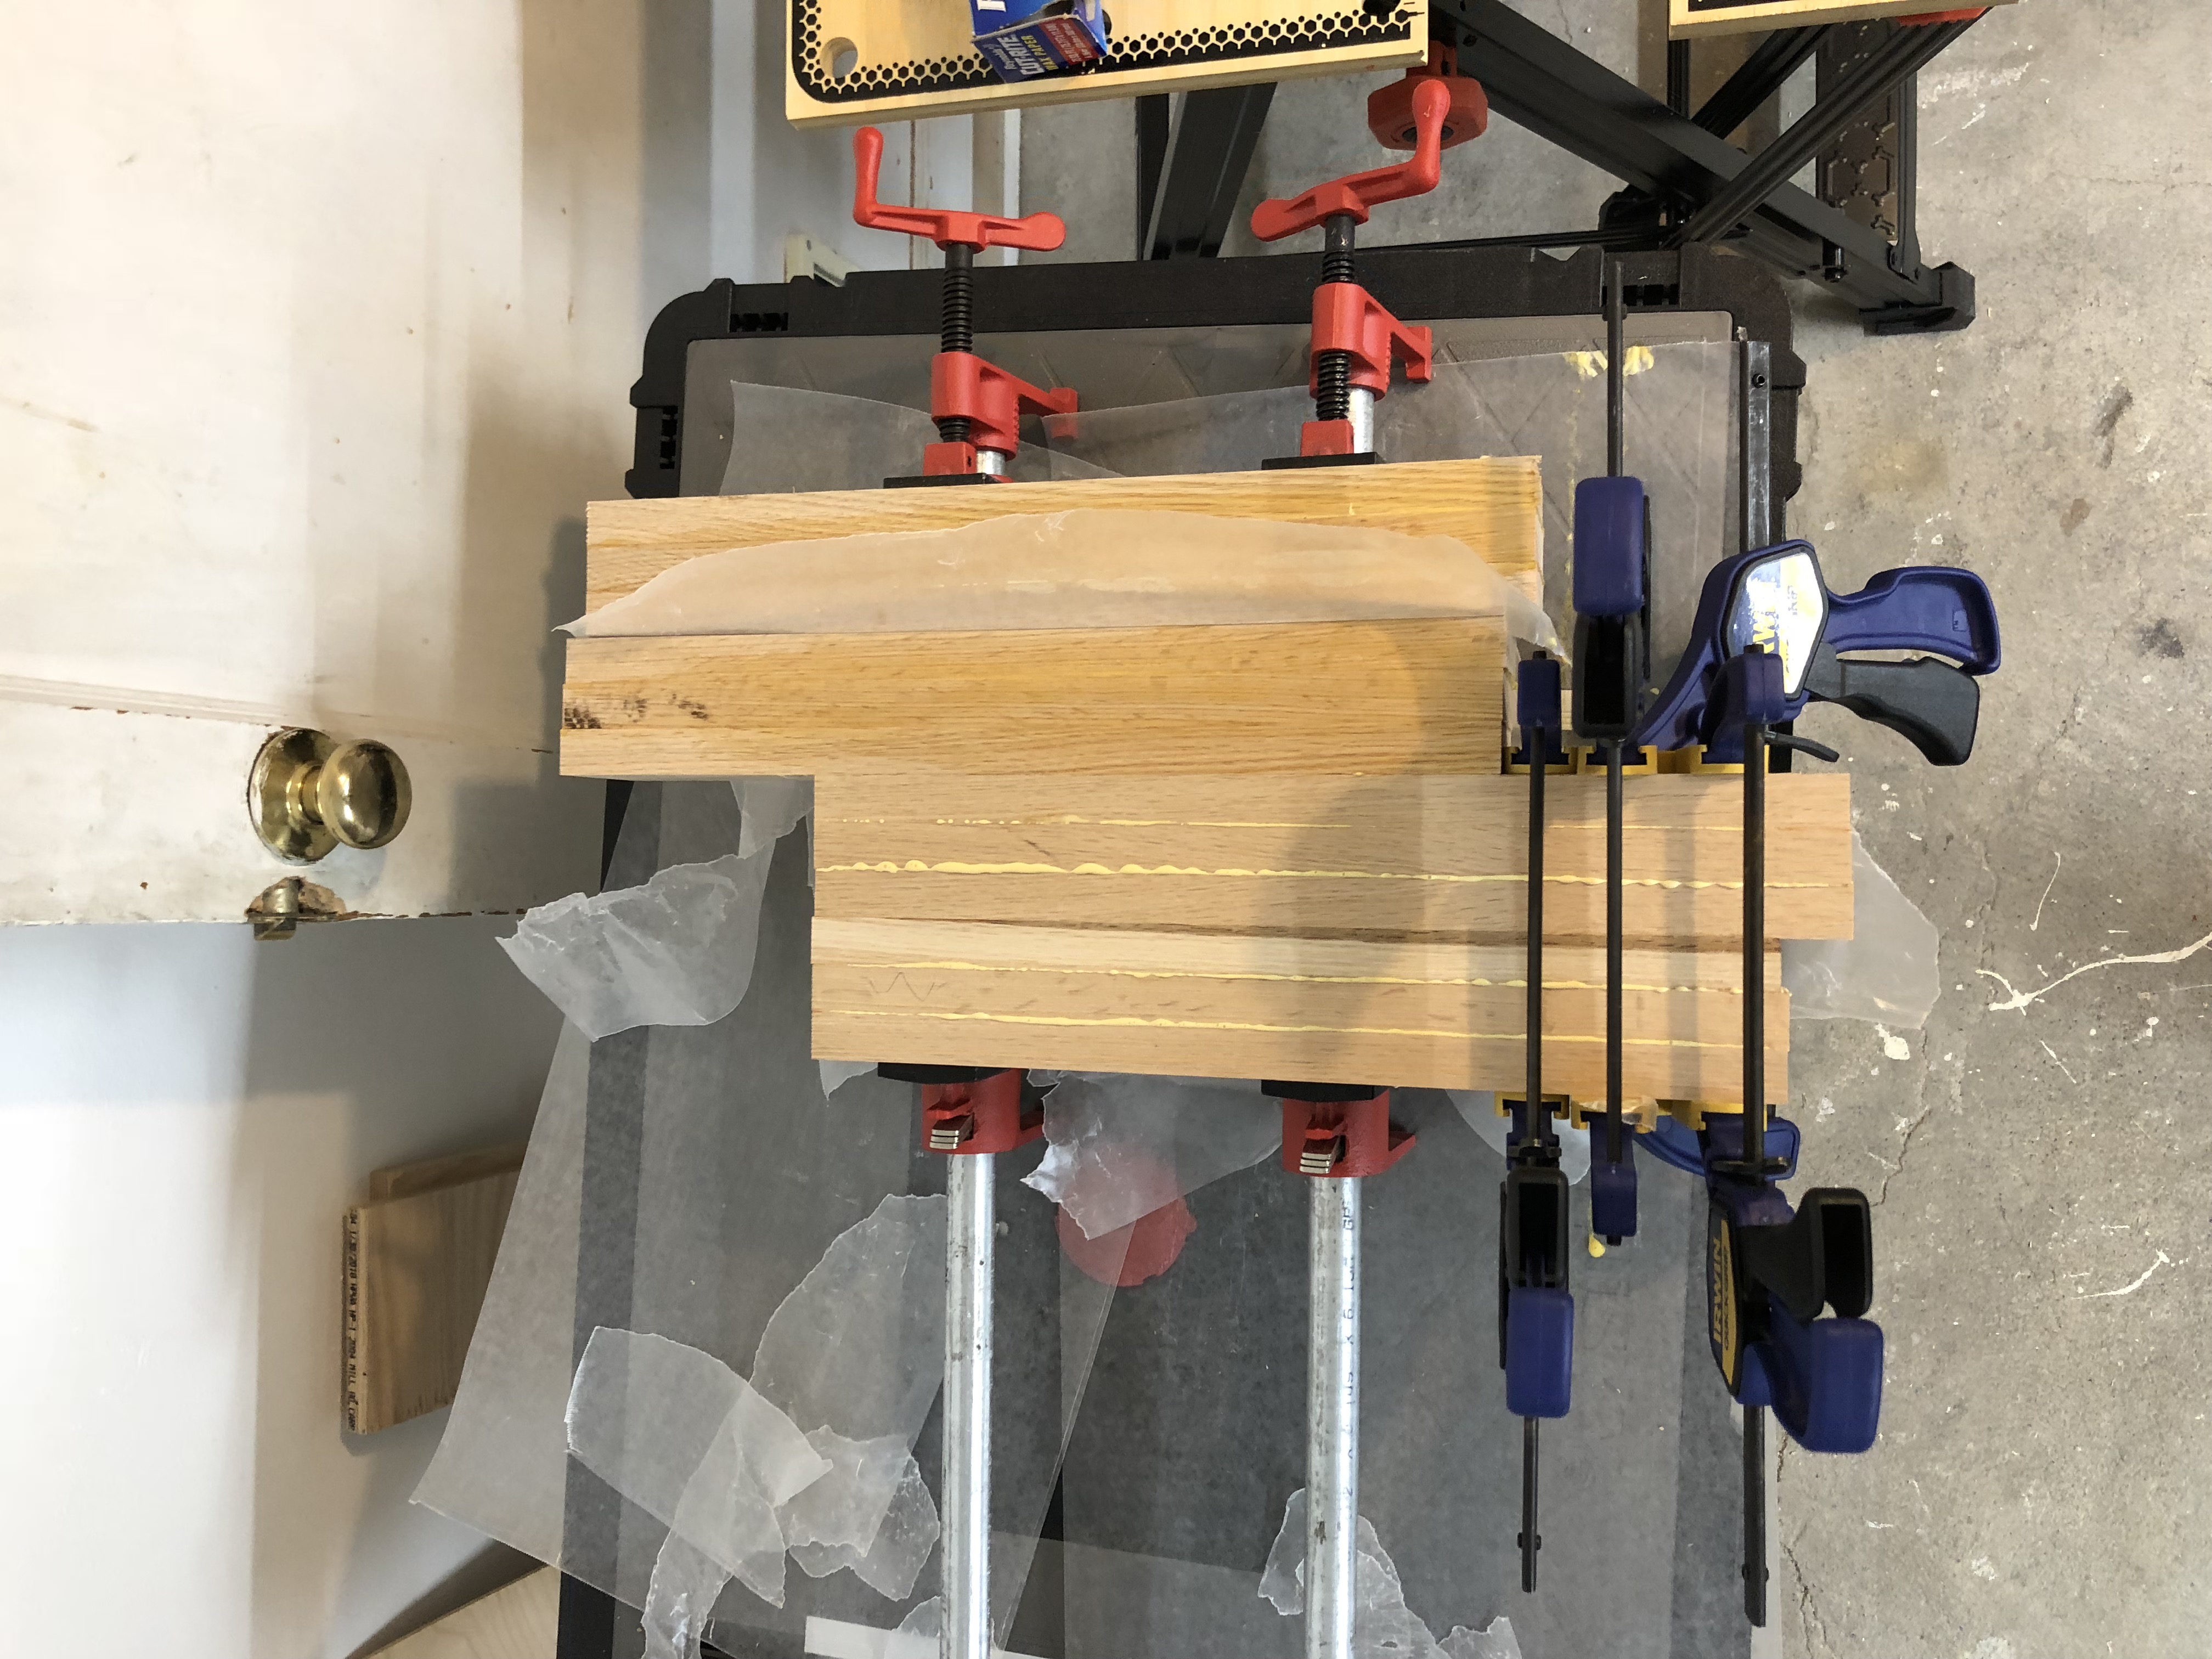
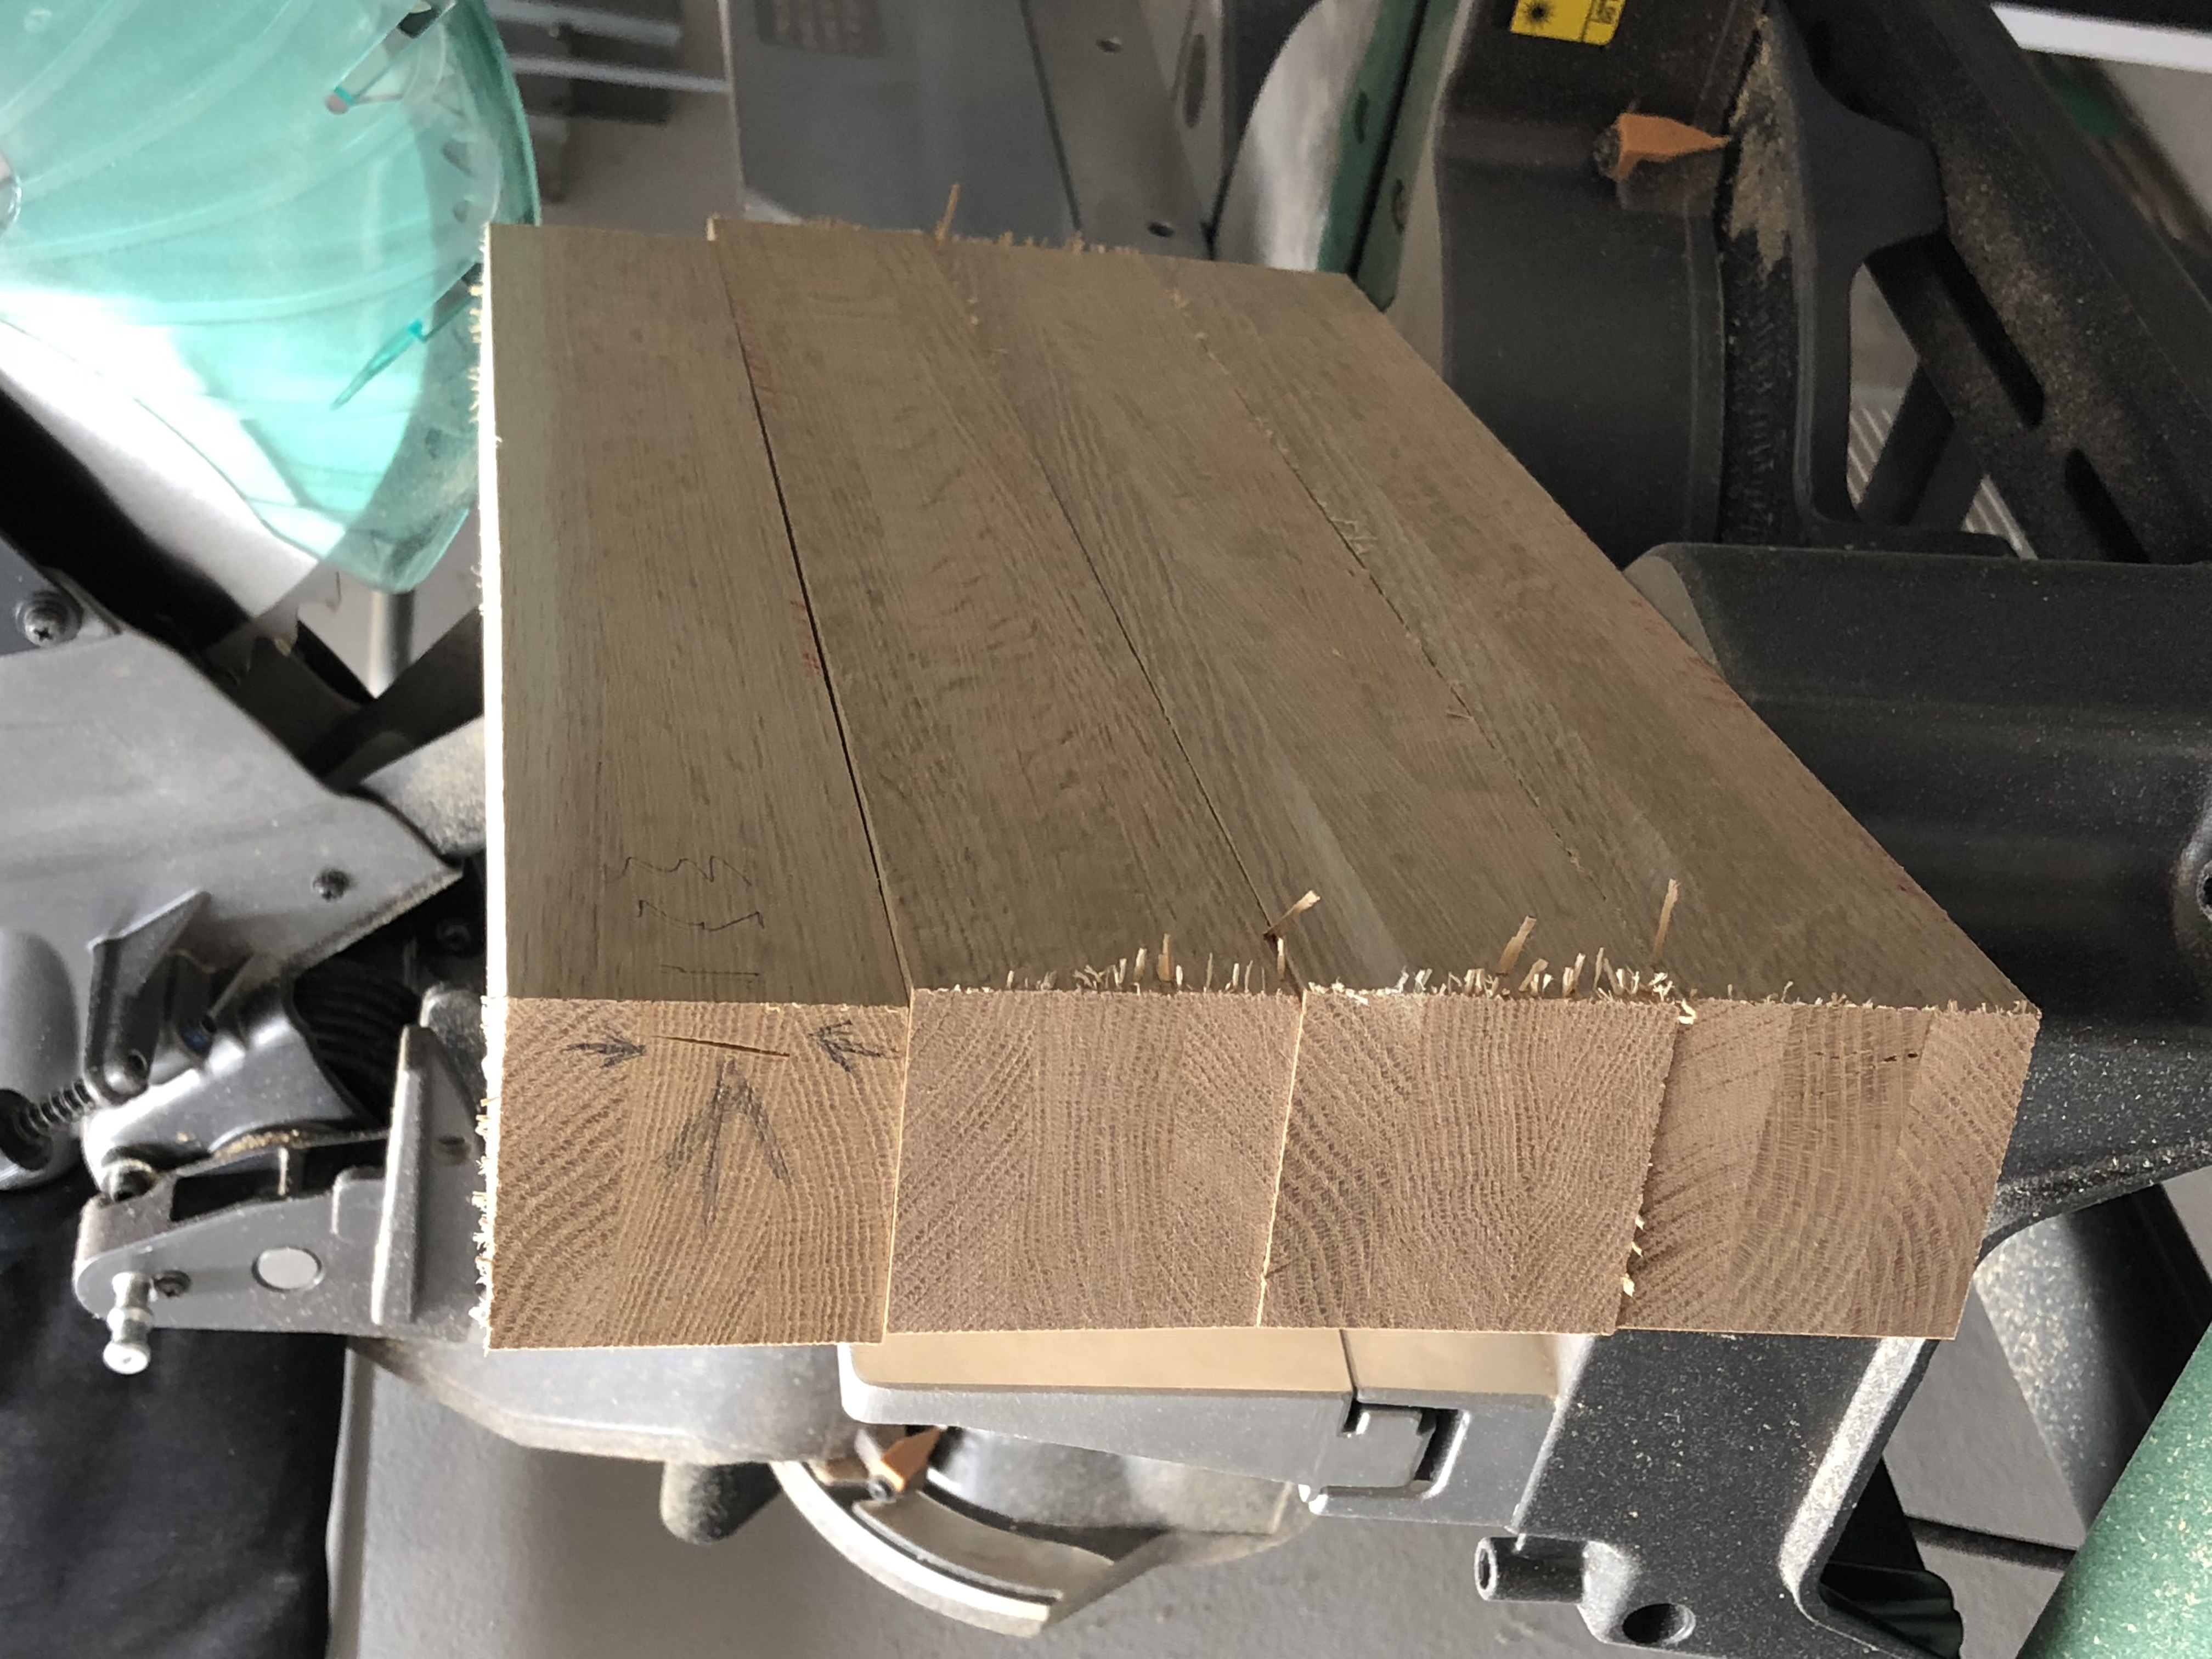
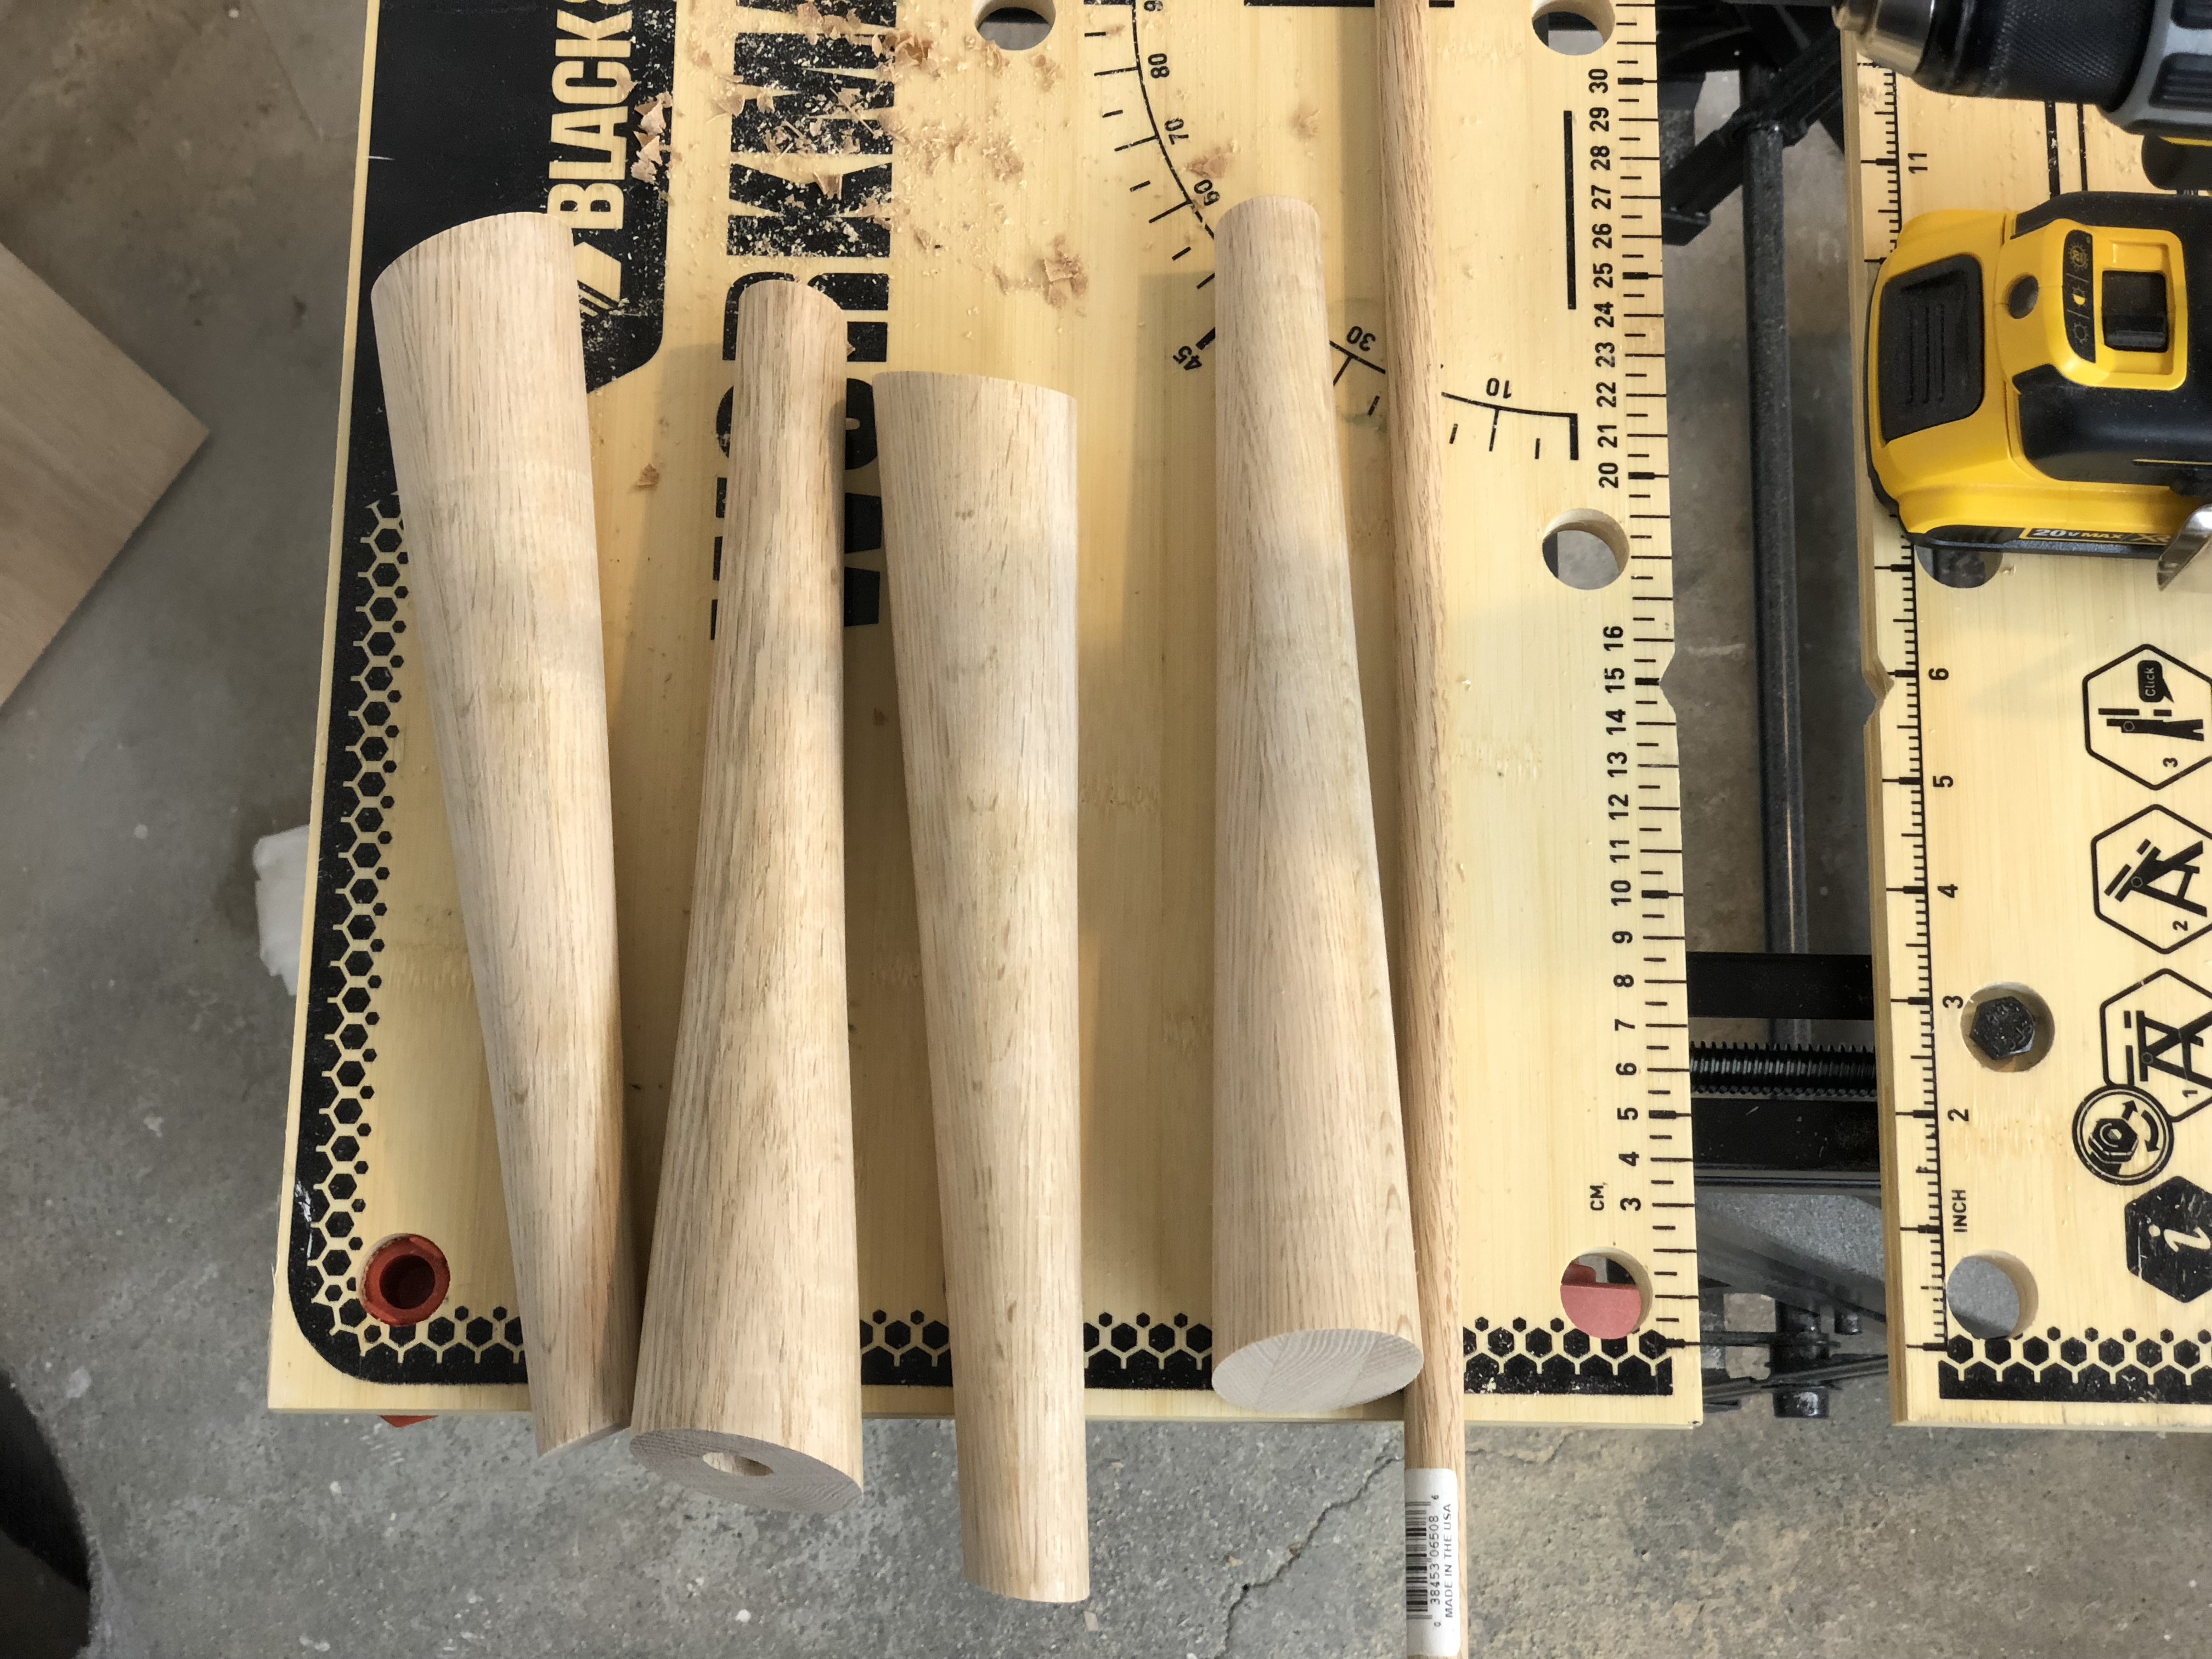
On to the legs! We cut down some solid oak 2×8’s, glued them up into square blanks, and turned them down in a straight taper.

Some finish and a few more cuts and the legs were ready! The drawer came together pretty easily to finish off the whole assembly.
Flaws
This was our first piece of furniture and we made lots of mistakes. We burned through the top veneer on one corner of the tabletop and patched it with edge banding, filled a lot of chip-out, and just didn’t quite get everything to line up perfectly. Oh well, we learned a lot of lessons and I think this project still came out alright!