
I found DrZzs video necessary for me to understand how to get these assembled. It's a great resource and so much better than the instructions in the package!
Required accessories
You need:
A curtain, obviously.
A longer power cord; the included one is about 2-3' and generally won't reach an outlet.
Curtain hooks or clips.
A Z-Wave hub/controller.
Length of curtain track
My curtain panels are 50" wide. We use 6-7 track sliders per panel. The curtains extend about 5" past the end of the track iteself, between the track-end and the hanger. The curtain panels are about 15" wide when fully open. Based on all of that, we're able to come up with how long we want the track to be and use the track connectors and pieces to get as close to that as we can.

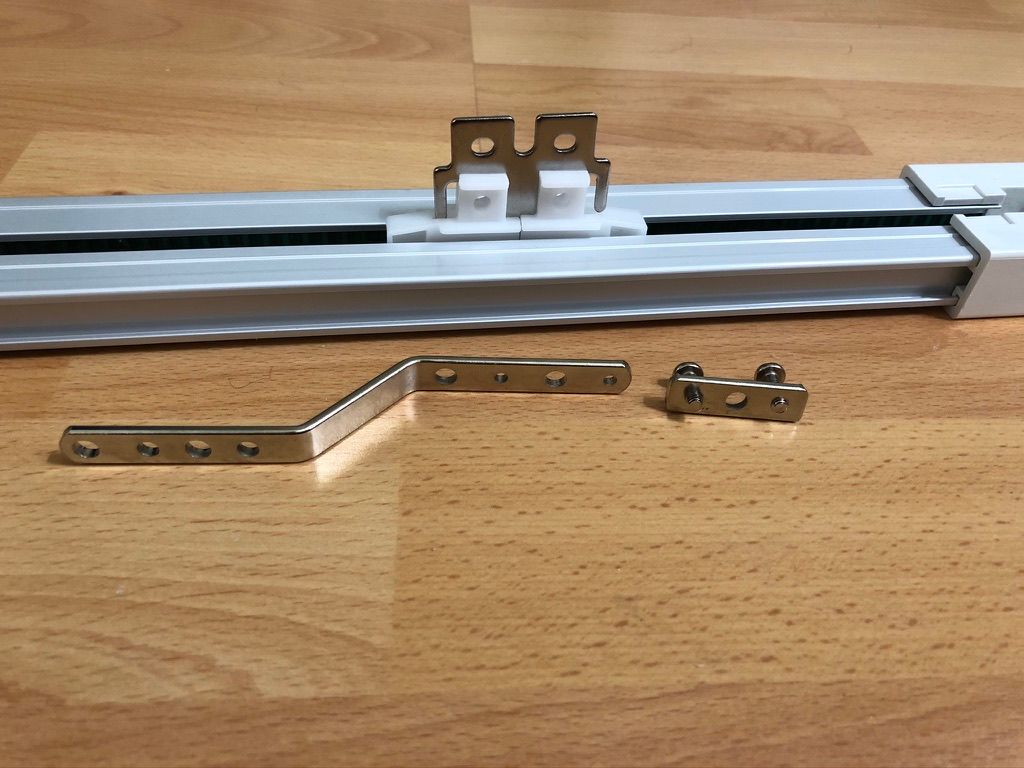
Then we can figure out where to place the wall brackets and assemble them to the track clips. We usually put one within 3" of either end, and then space out more roughly every 30" in between.
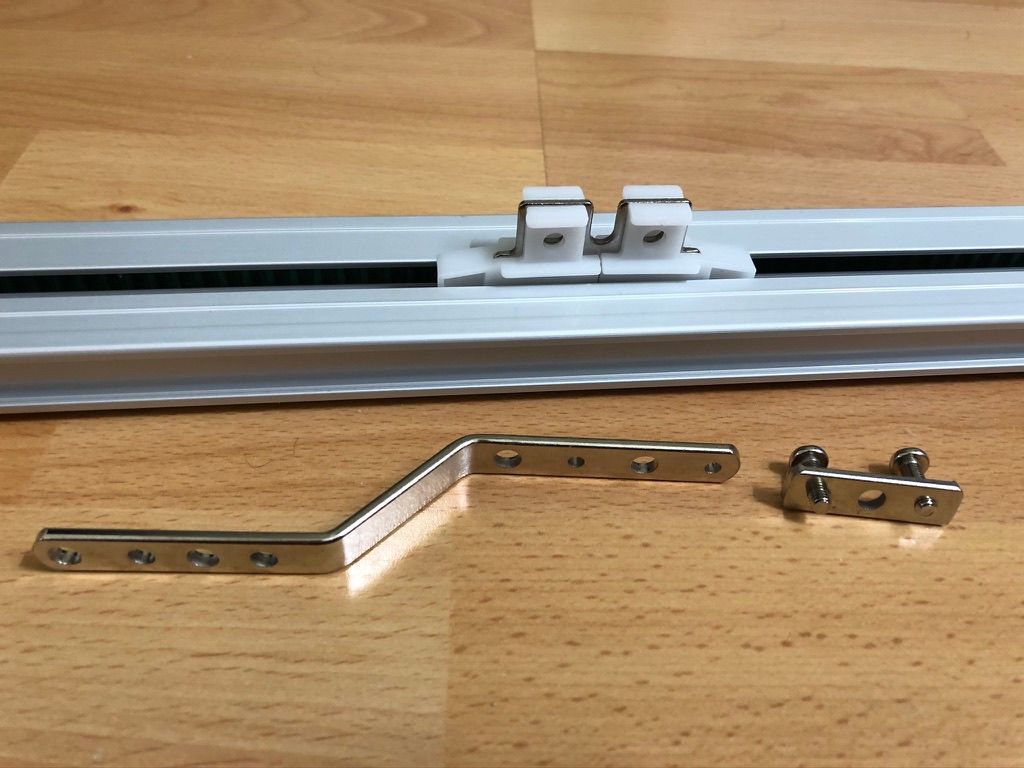
For a double curtain setup, where one side moves left and the other side moves right, use the plastic clip and measuring tool included. Do this twice, to create 2 equal-length belts.
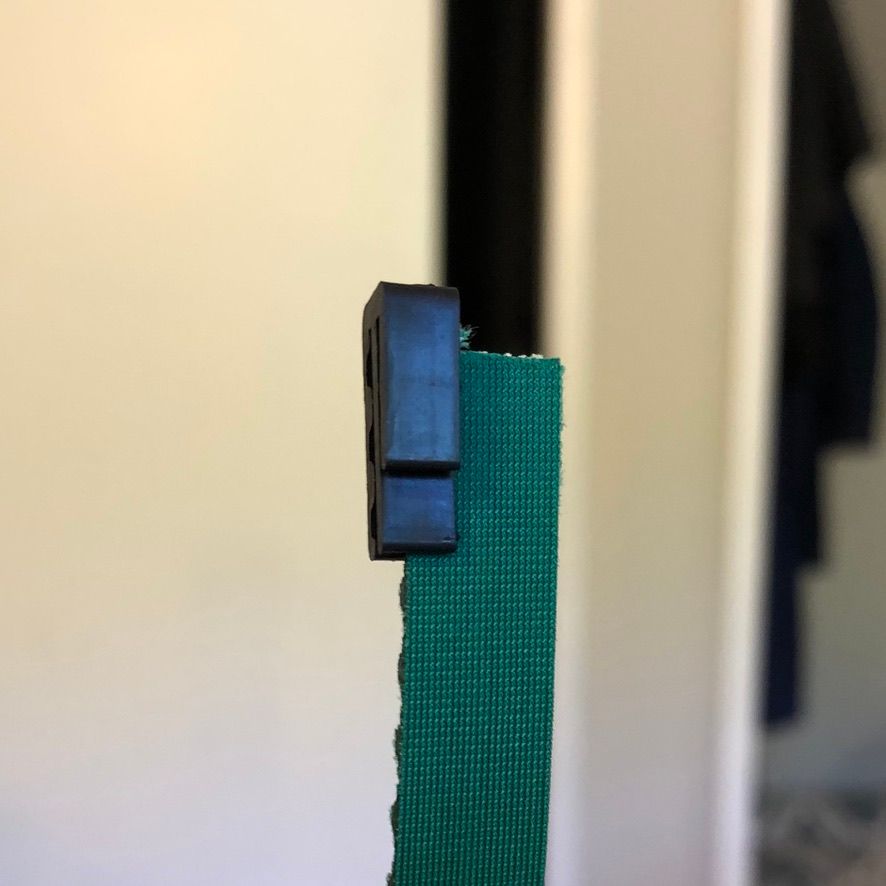
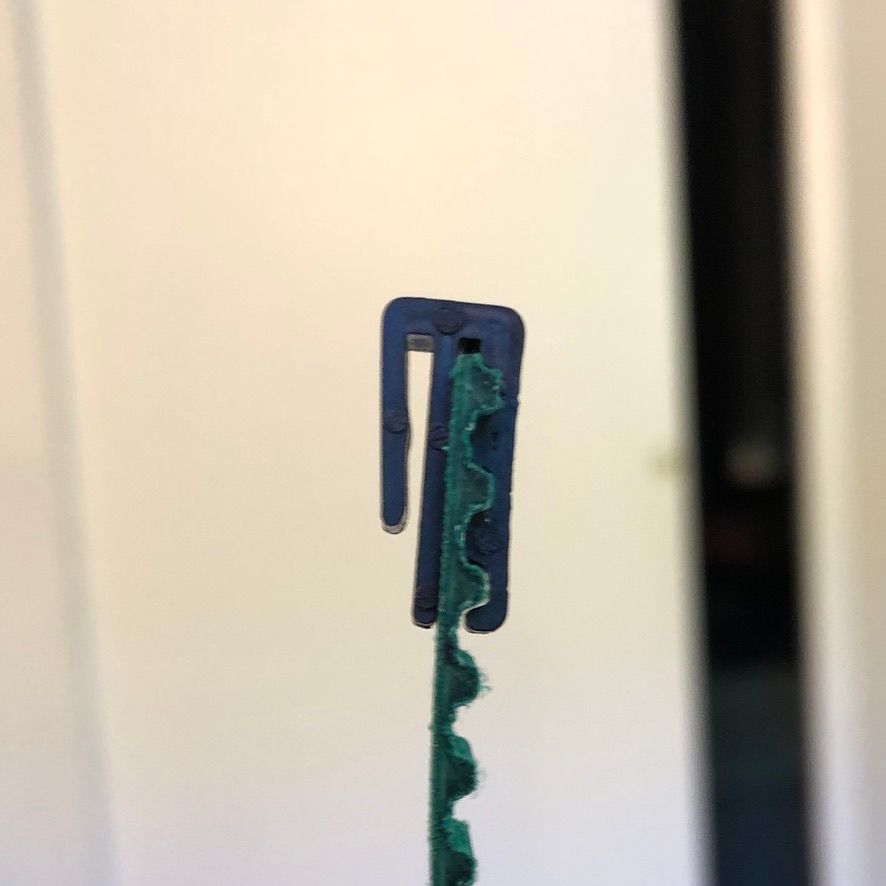
Then, install a white connector clip on one end of each of the two belts.

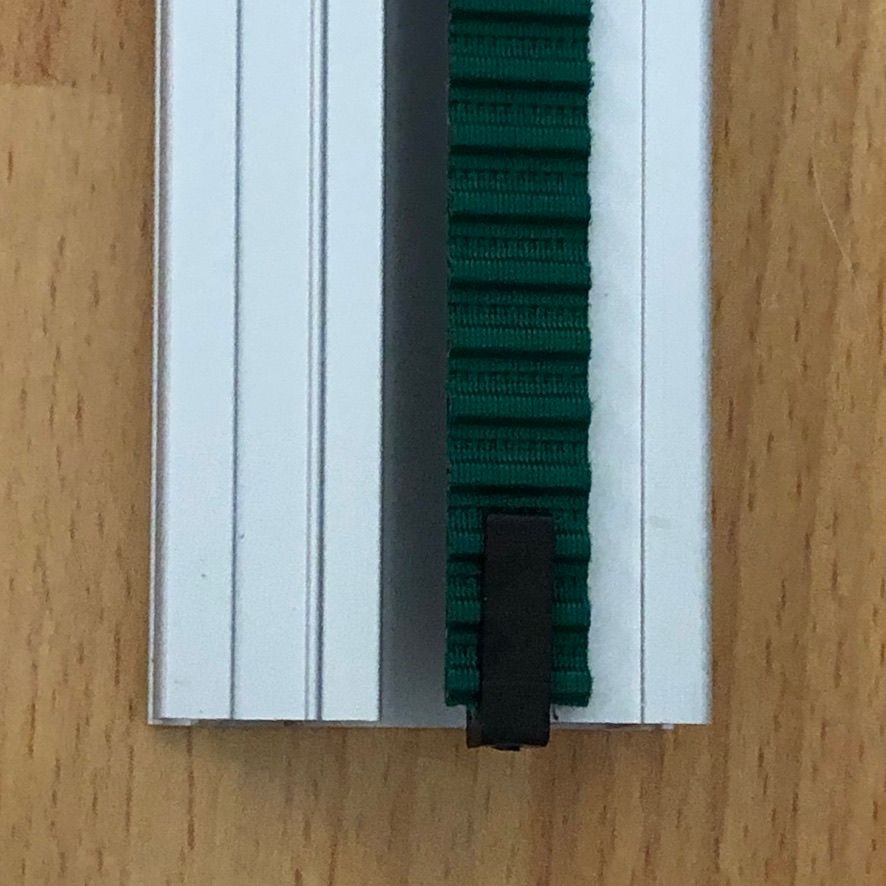
Push the connectors into track carriage assemblies and then push these through the track.
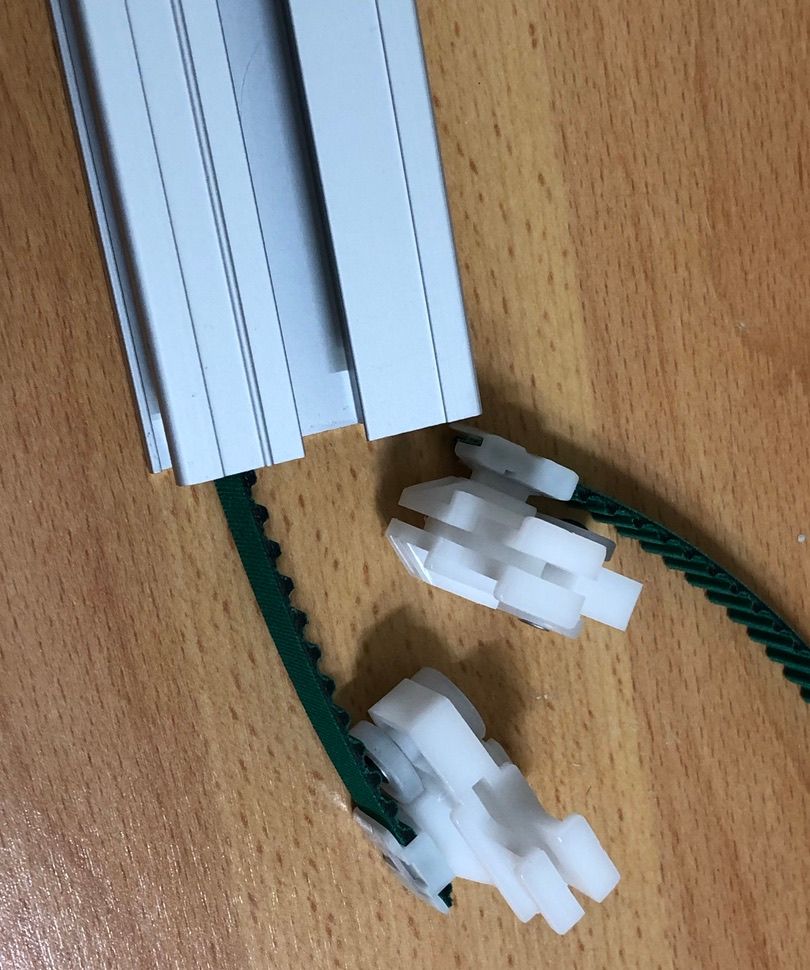
Shove the other end through the track-end until it comes out the other side.
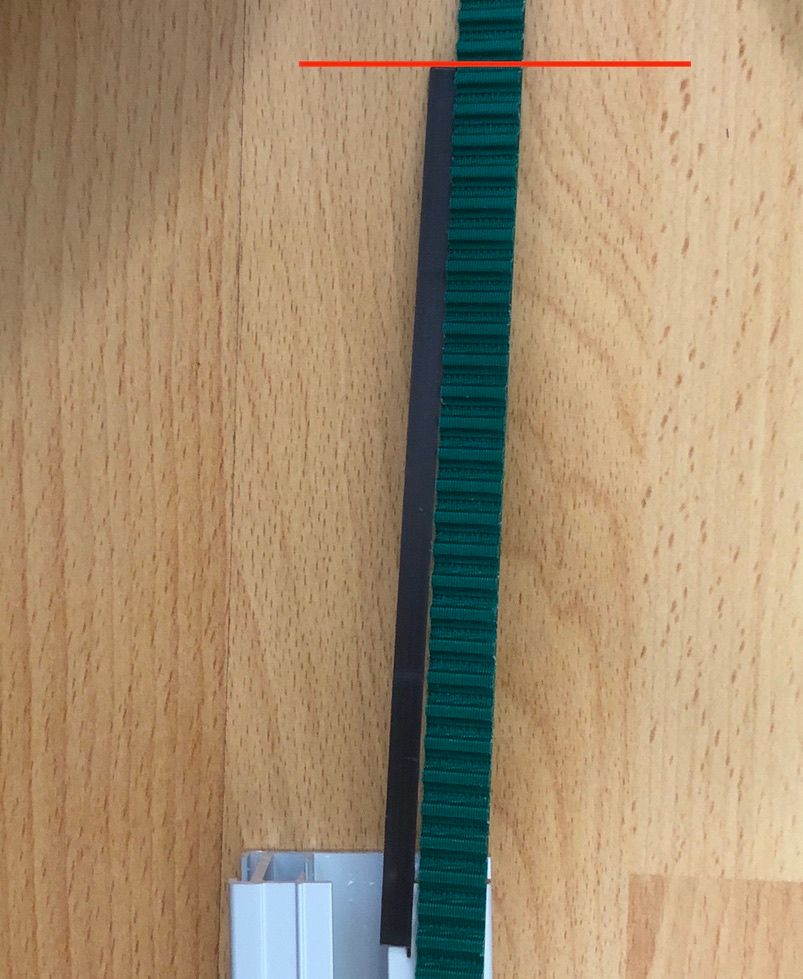
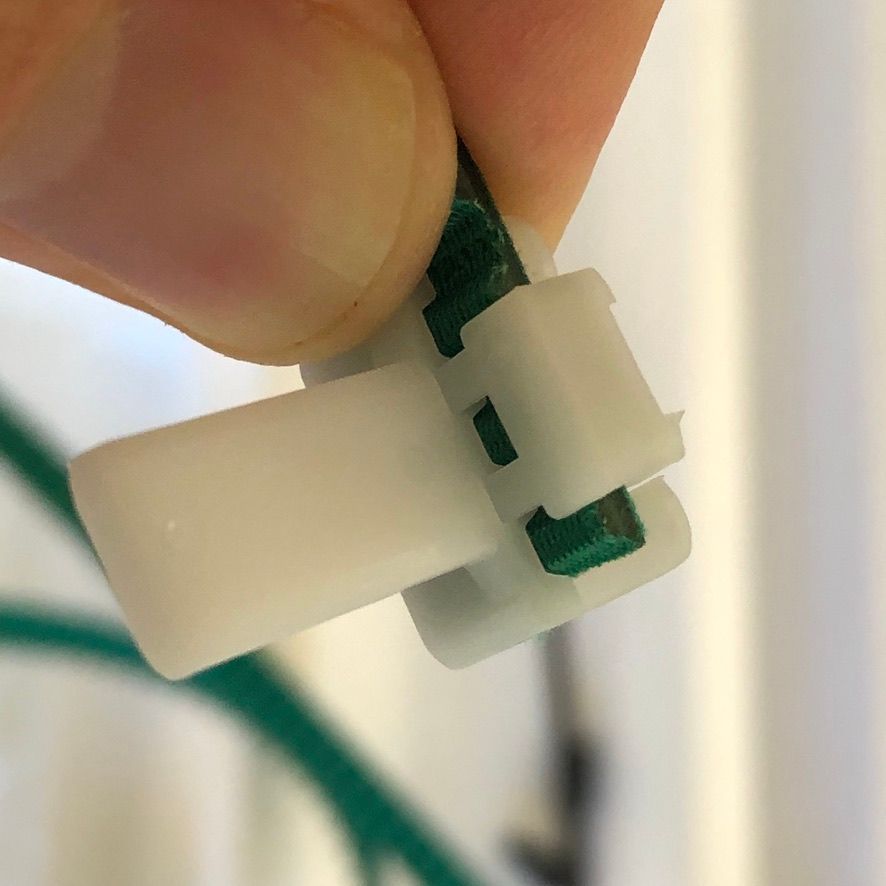
Add another track connector on the free end, and connect it - you want them to butt up against each other like in the photos.
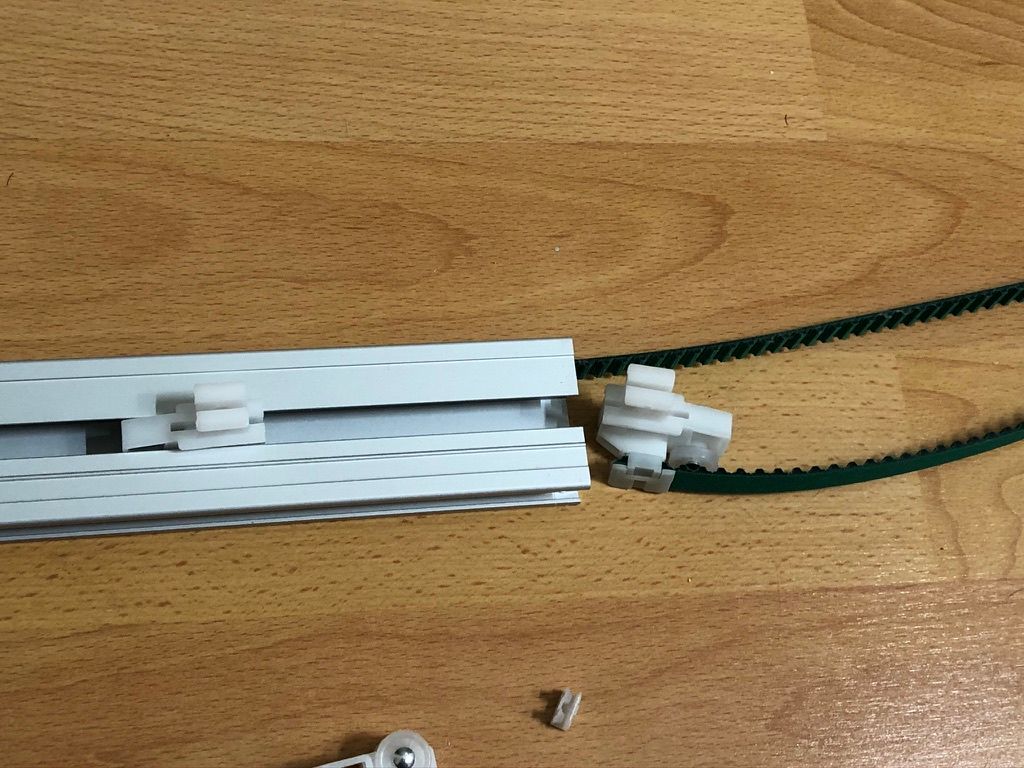
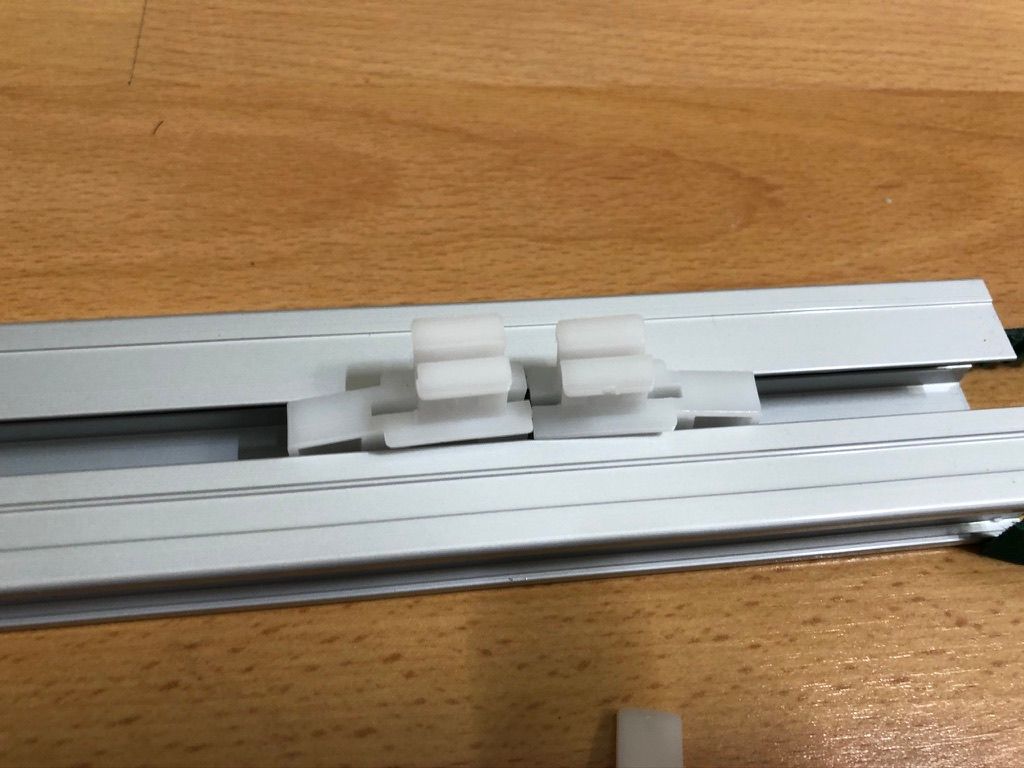
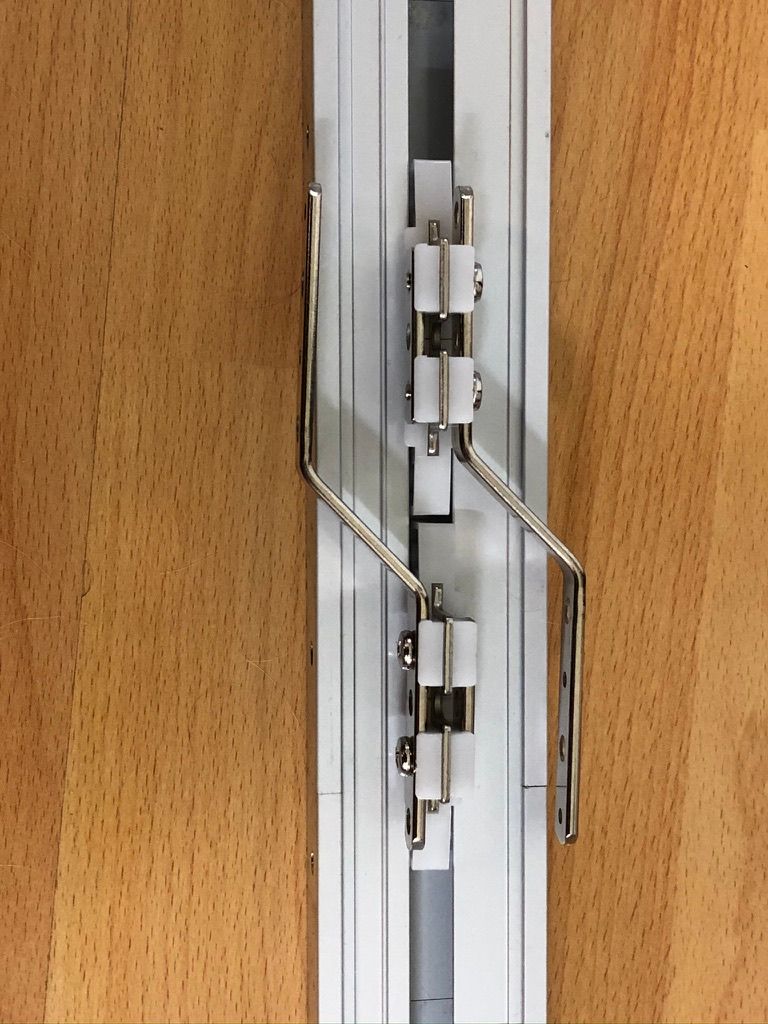
Repeat on the other side, then push the track-ends onto the track. This should force the track carriage assemblies together on both ends.
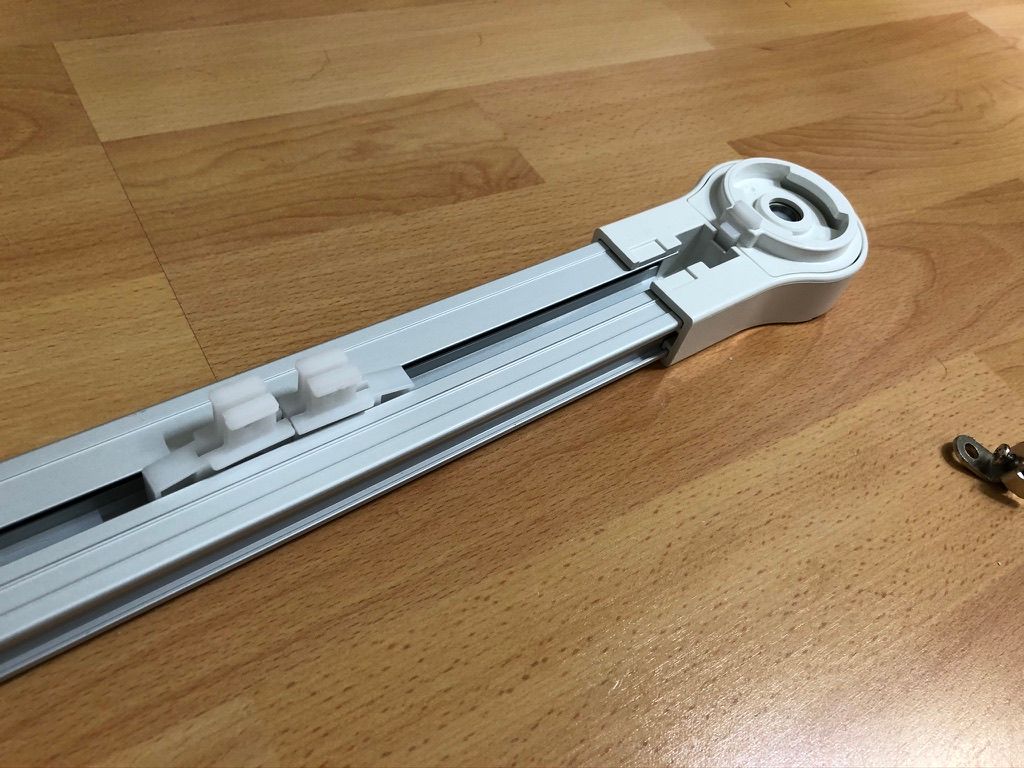
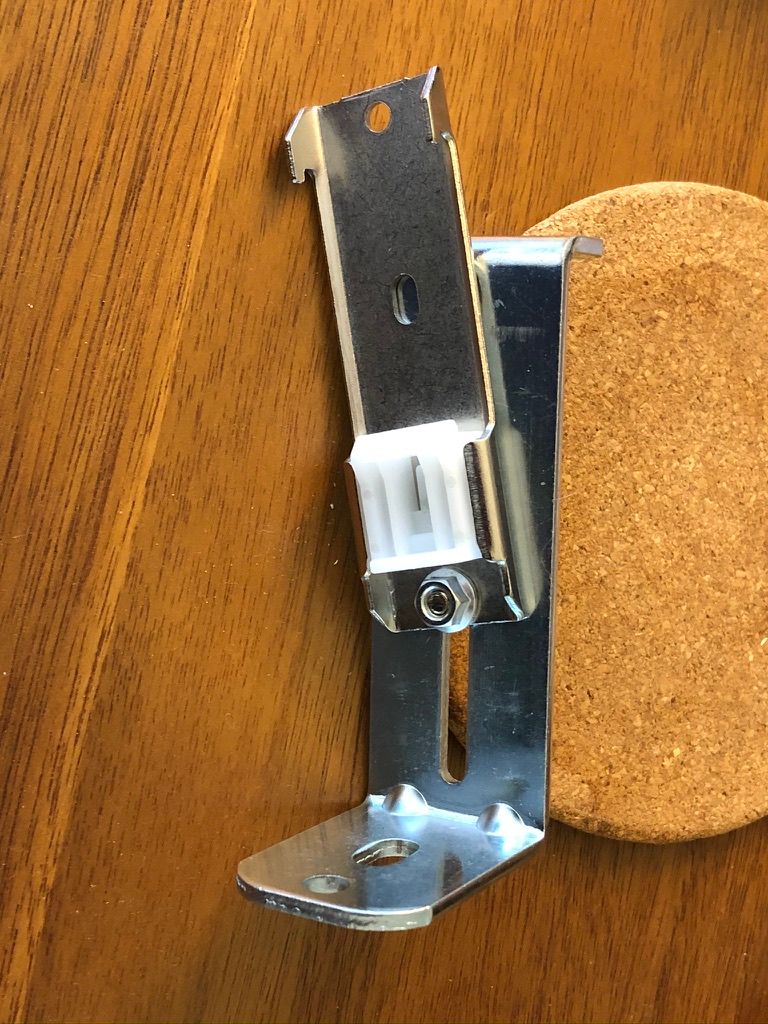
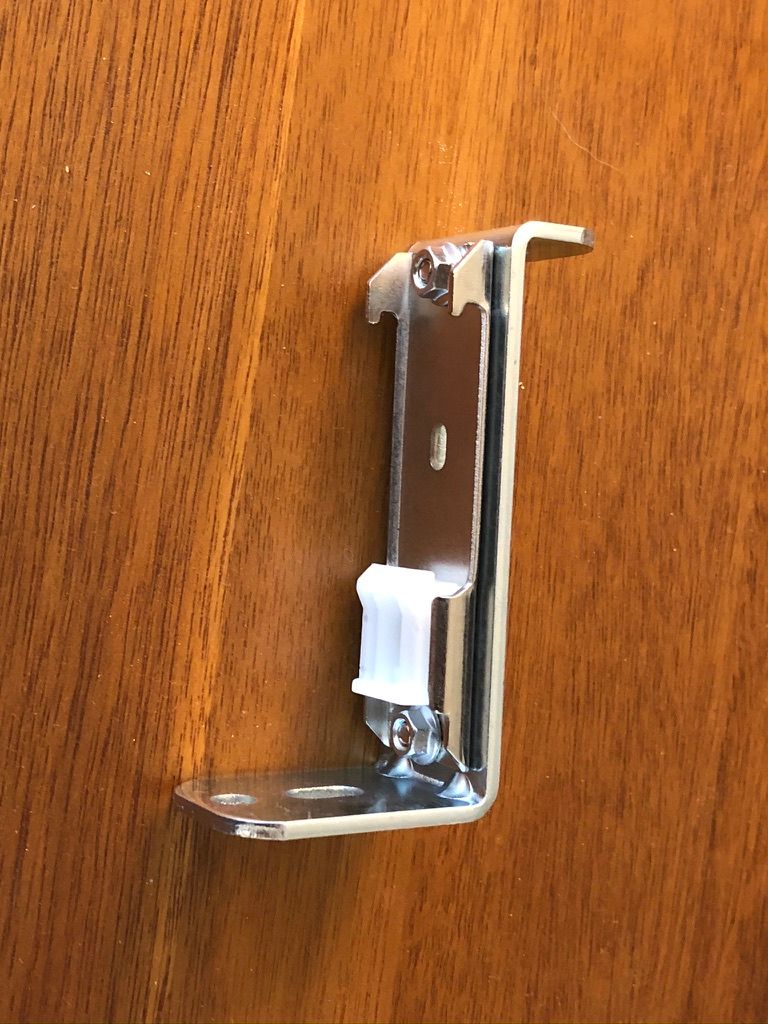
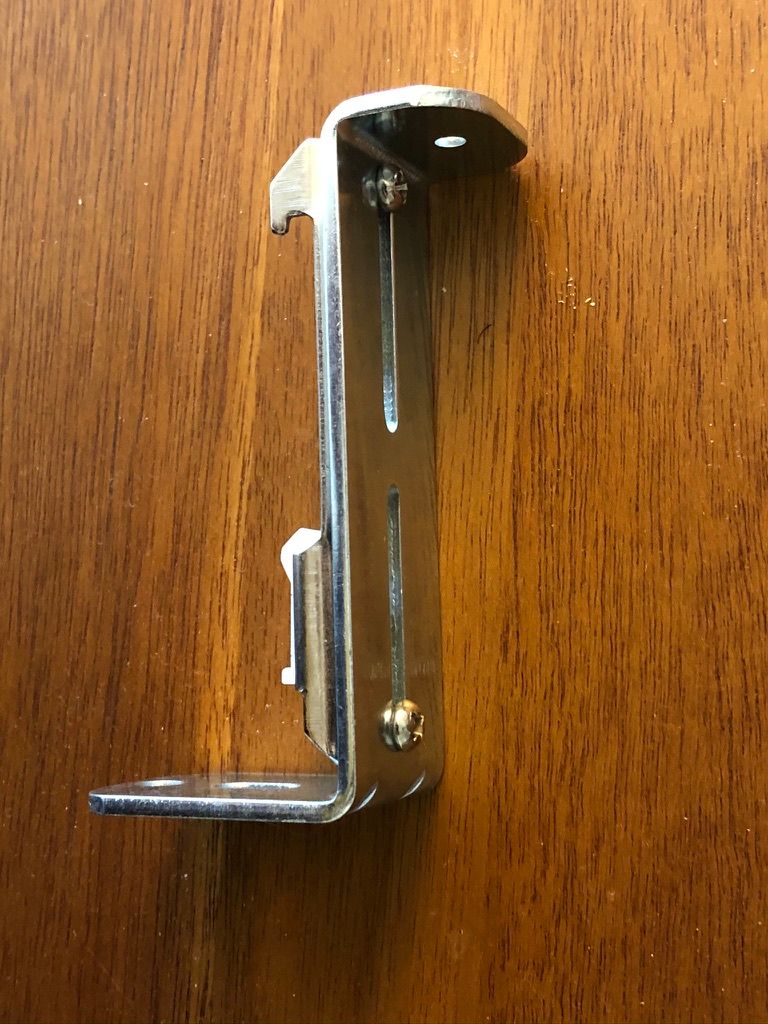
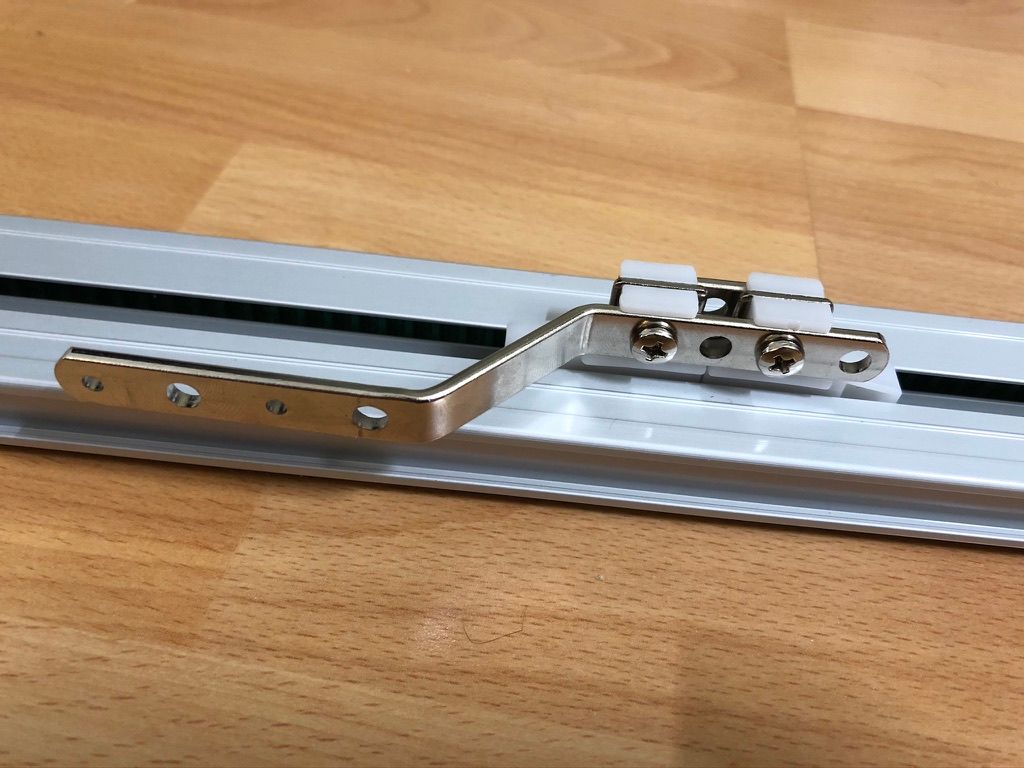
Now add the metal W clips to hold the assemblies together, and plan out how you want the curtain hangers on the ends to interact.
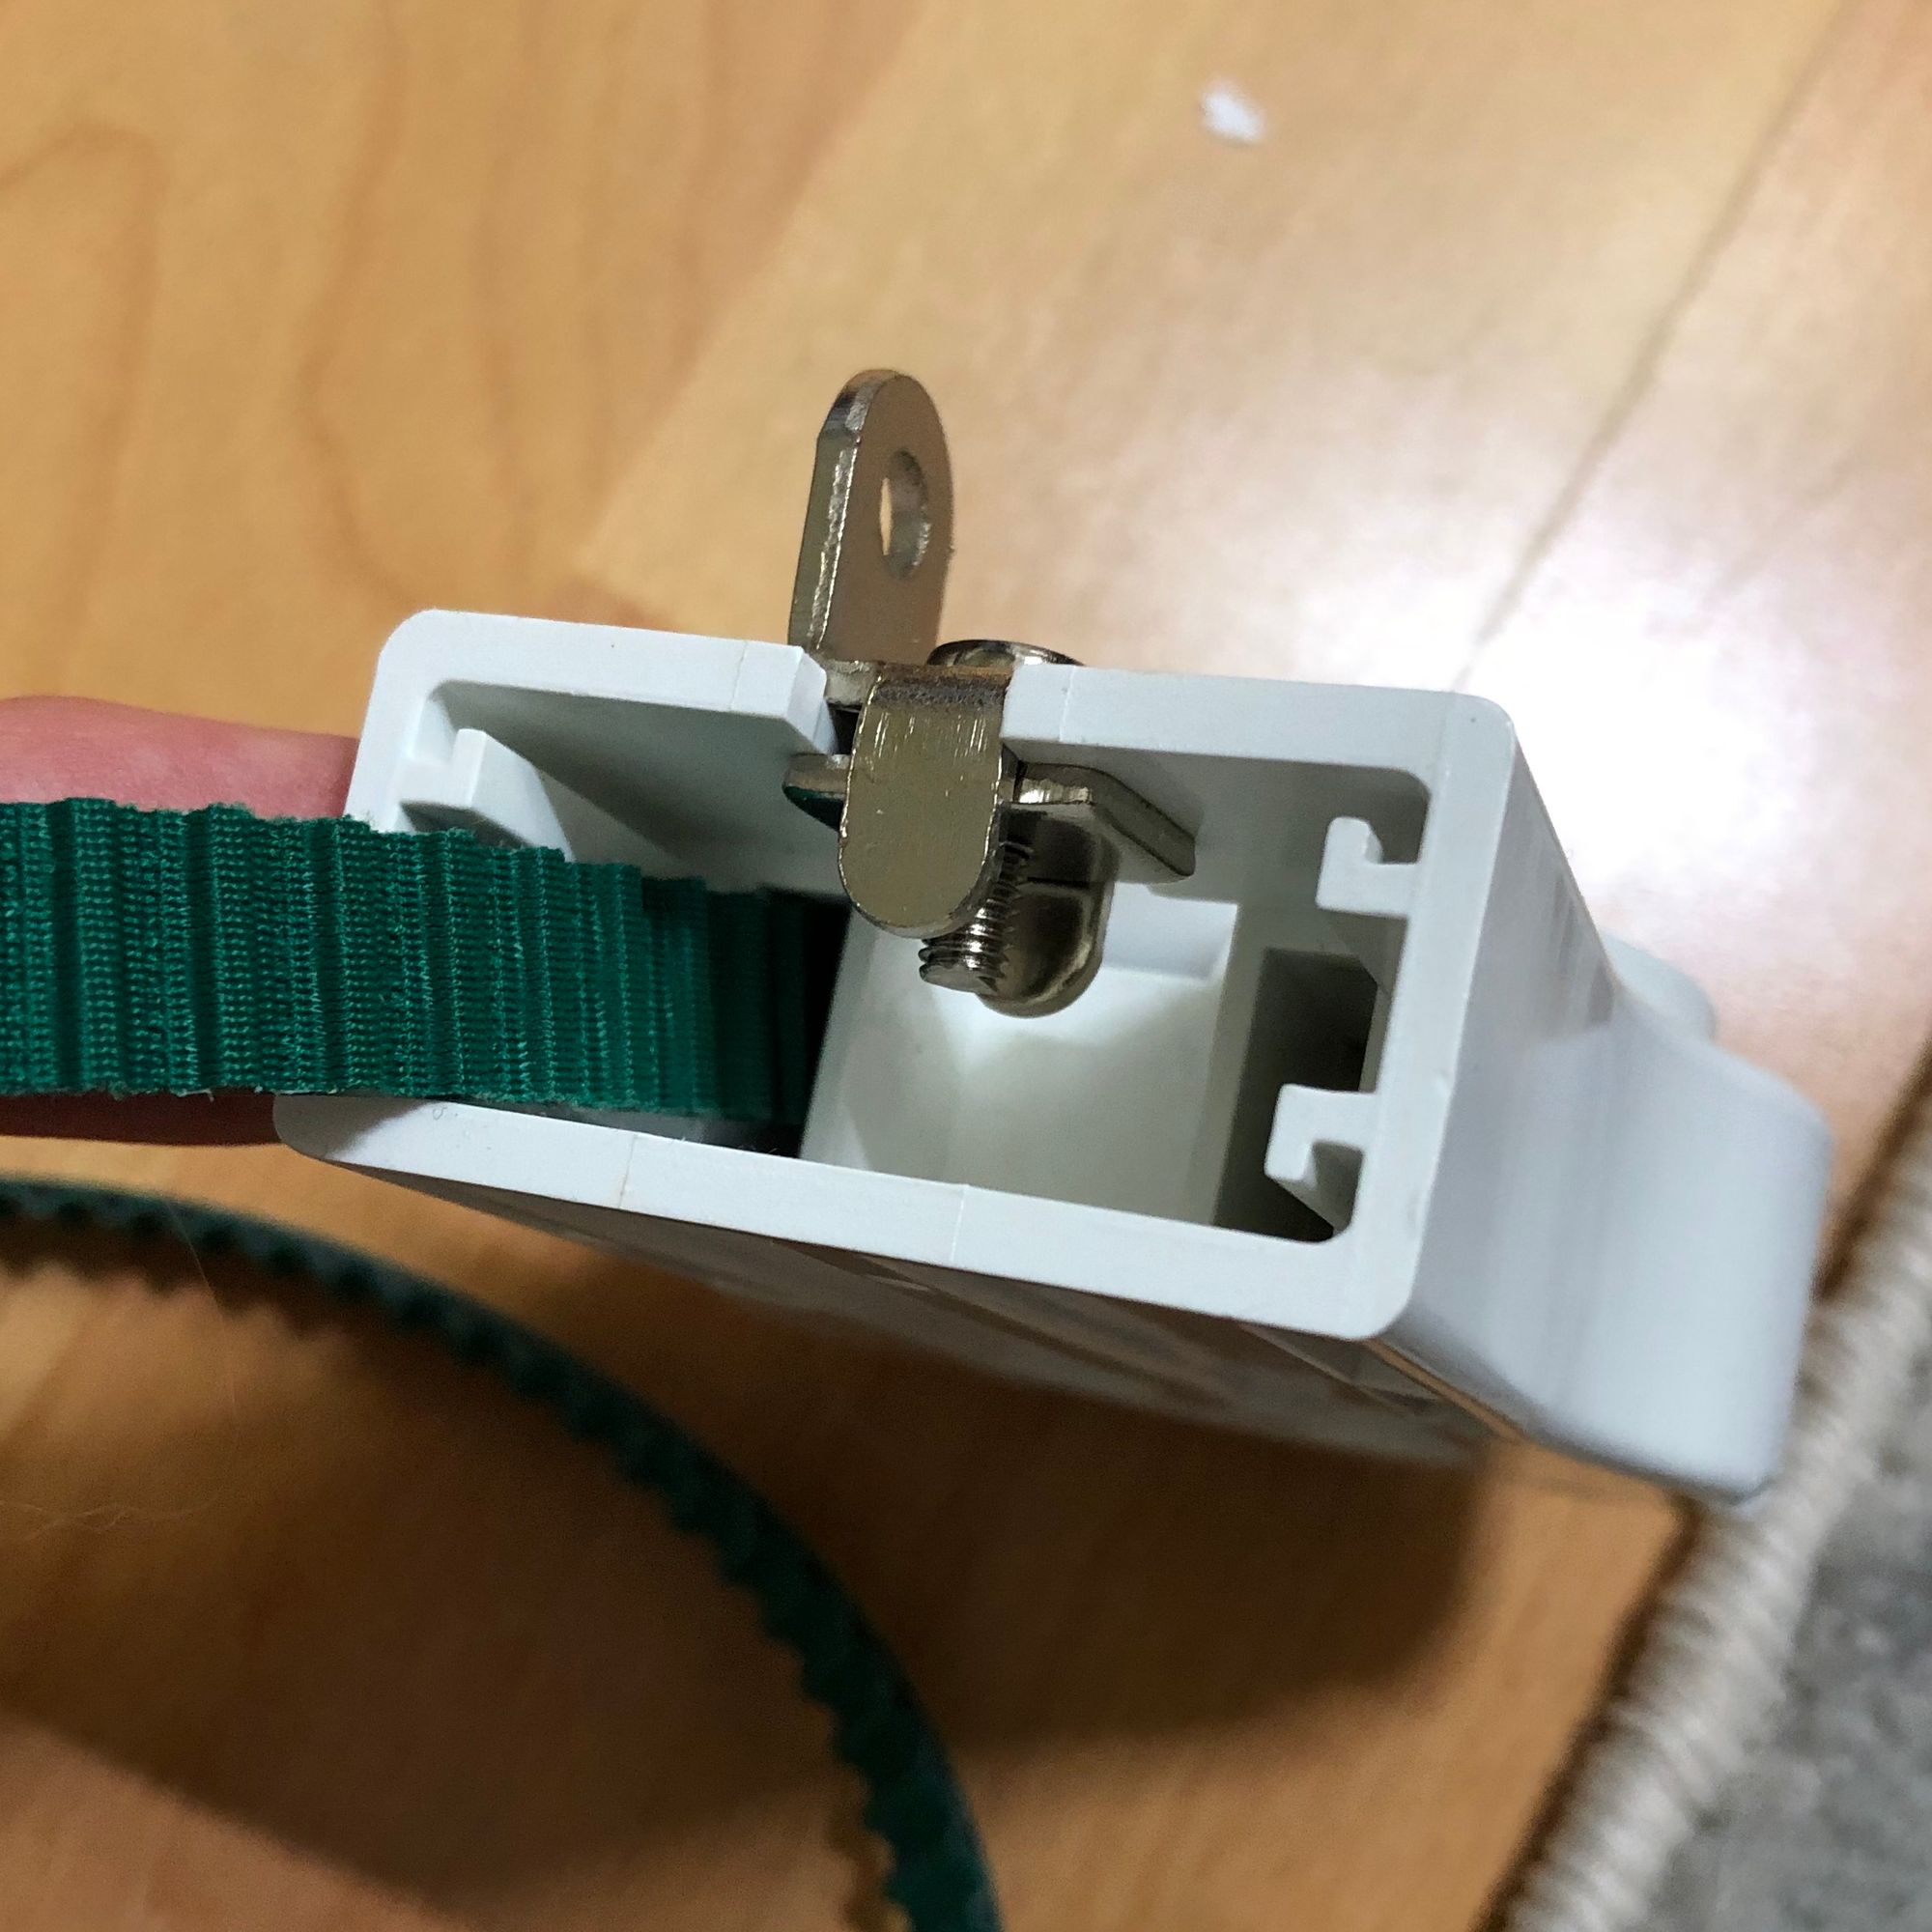
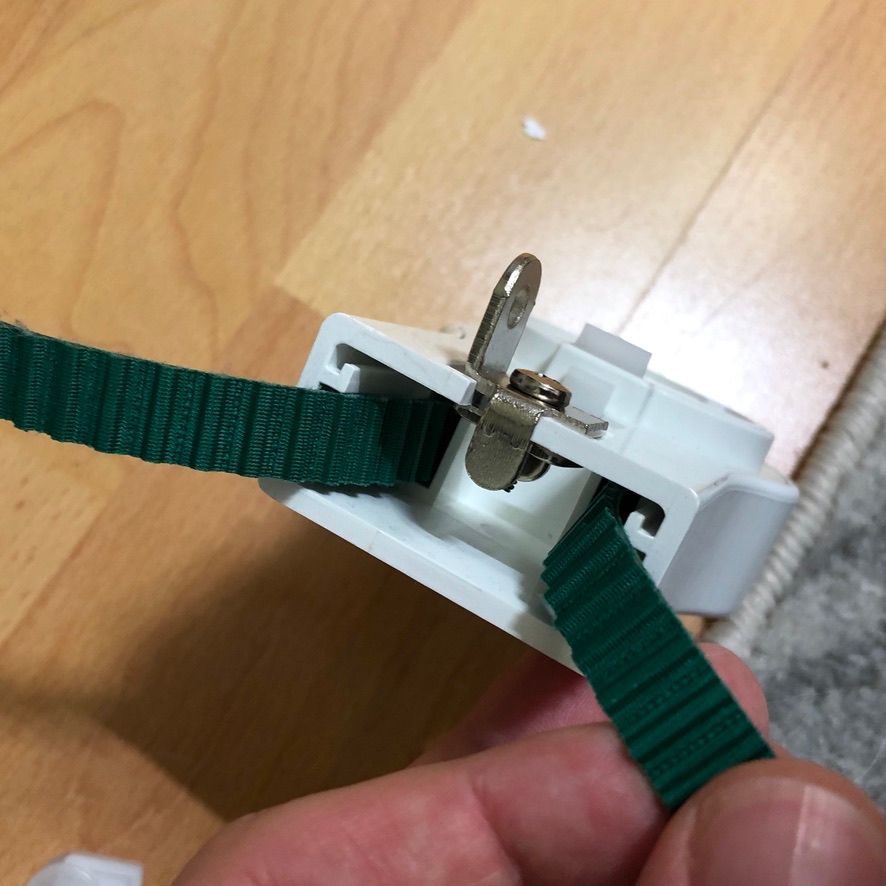
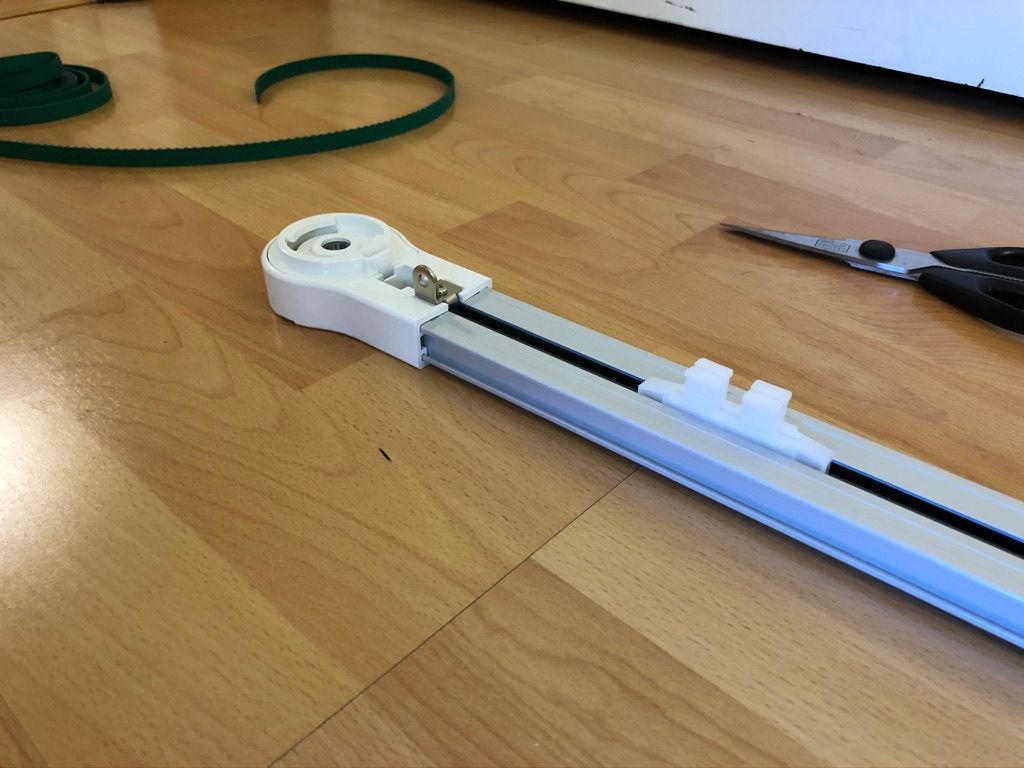
Screw the curtain hanger onto the track assemblies using the flat double-nut.
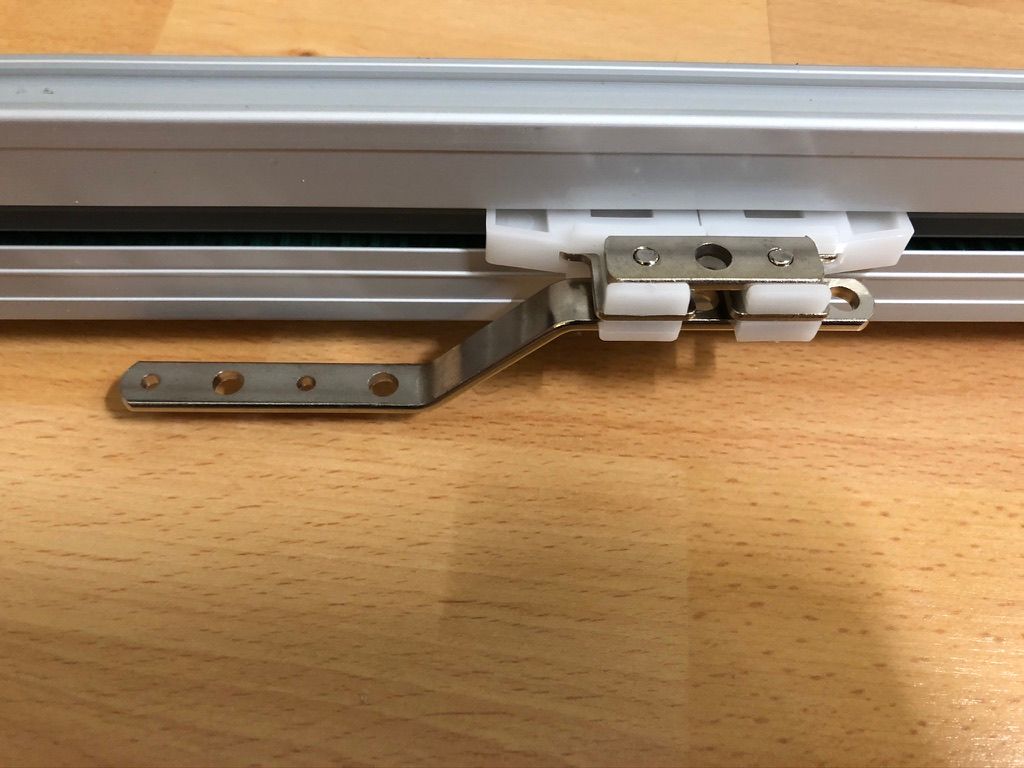
Push the hangers back and forth and make sure they run smoothly. There may be a little resistance, but everything should be nice and smooth.
Now you can clip it all up on the wall and attach the curtain!
Migrating between controllers
When I went to move the z-wave control for these from SmartThings to Home Assistant, I had a lot of trouble finding information on on the z-wave module. It's separate from the motor and has little to no mention in the instructions from Zemismart. Eventually, I tracked down the info sheet for it on the Z-Wave Alliance site. It seems to be an unmarked white-label of the SayKey Curtain Motor Control. From there, all the relevant information is pretty easy to come by. Essentially, the larger of the two holes on the side has a small button behind it. You can press this button 3 times quickly (with a paperclip or similar) to put it in include/exclude mode. Holding the button for "excess 10 second" does a local factory reset for the module. I ended up holding it for what felt like 15 seconds before the red led started flashing. I held it until it stopped flashing and that seemed to work.
Failures over time
3 of these curtain rods have worked reliably for almost a year. Then I decided to re-pair the Z-Wave controllers over from SmartThings to Home Assistant. I guess that, as I was moving things around, one of the phone cord-like wires must have partially broken because the Z-Wave controller became very intermittent. I had some cat-6 from wiring the house. It's crazy over-kill, but I used that, and some RJ12 connectors, to replace the original cable.
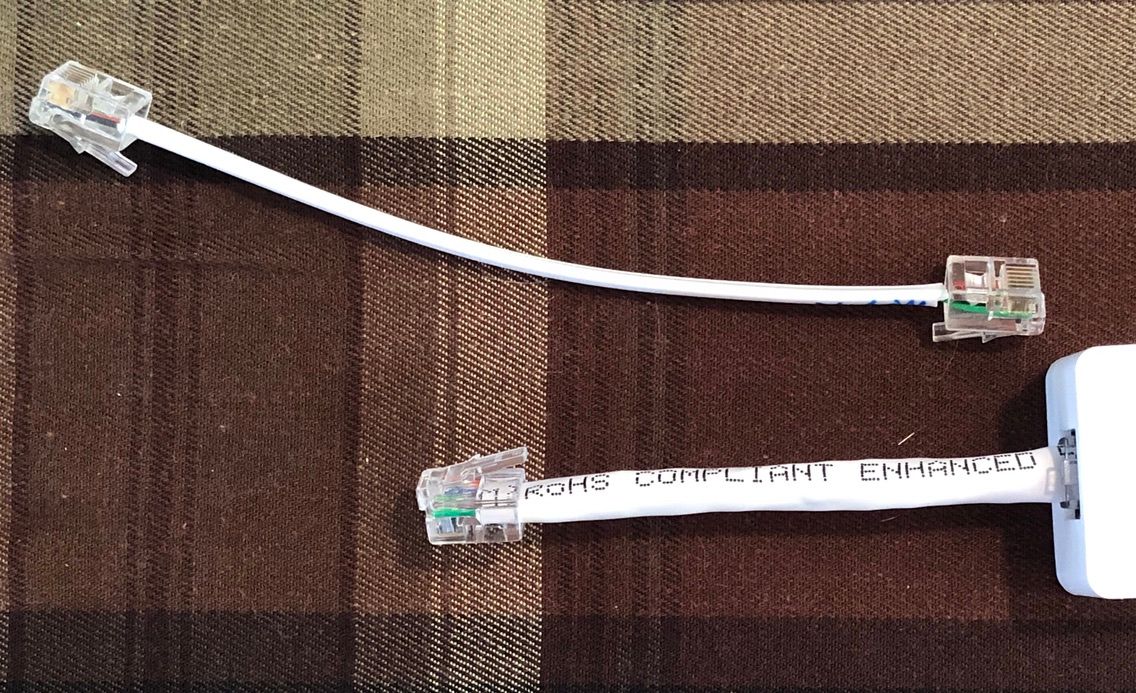
Note that these connectors are 6p6c, meaning they can connect 6 wires. Regular phone connectors, with just 4 wires, will not work.
The pinout is an asymmetric crossover configuration with the following pinout (as looking with the clip facing down). The colors are in reference to my cat-6. The original cable had slightly different colors.
| Motor | |||||
| Orange | - | - | Blue | Brown | Green |
| Z-Wave Controller | |||||
| Brown | Orange | Green | - | - | Blue |